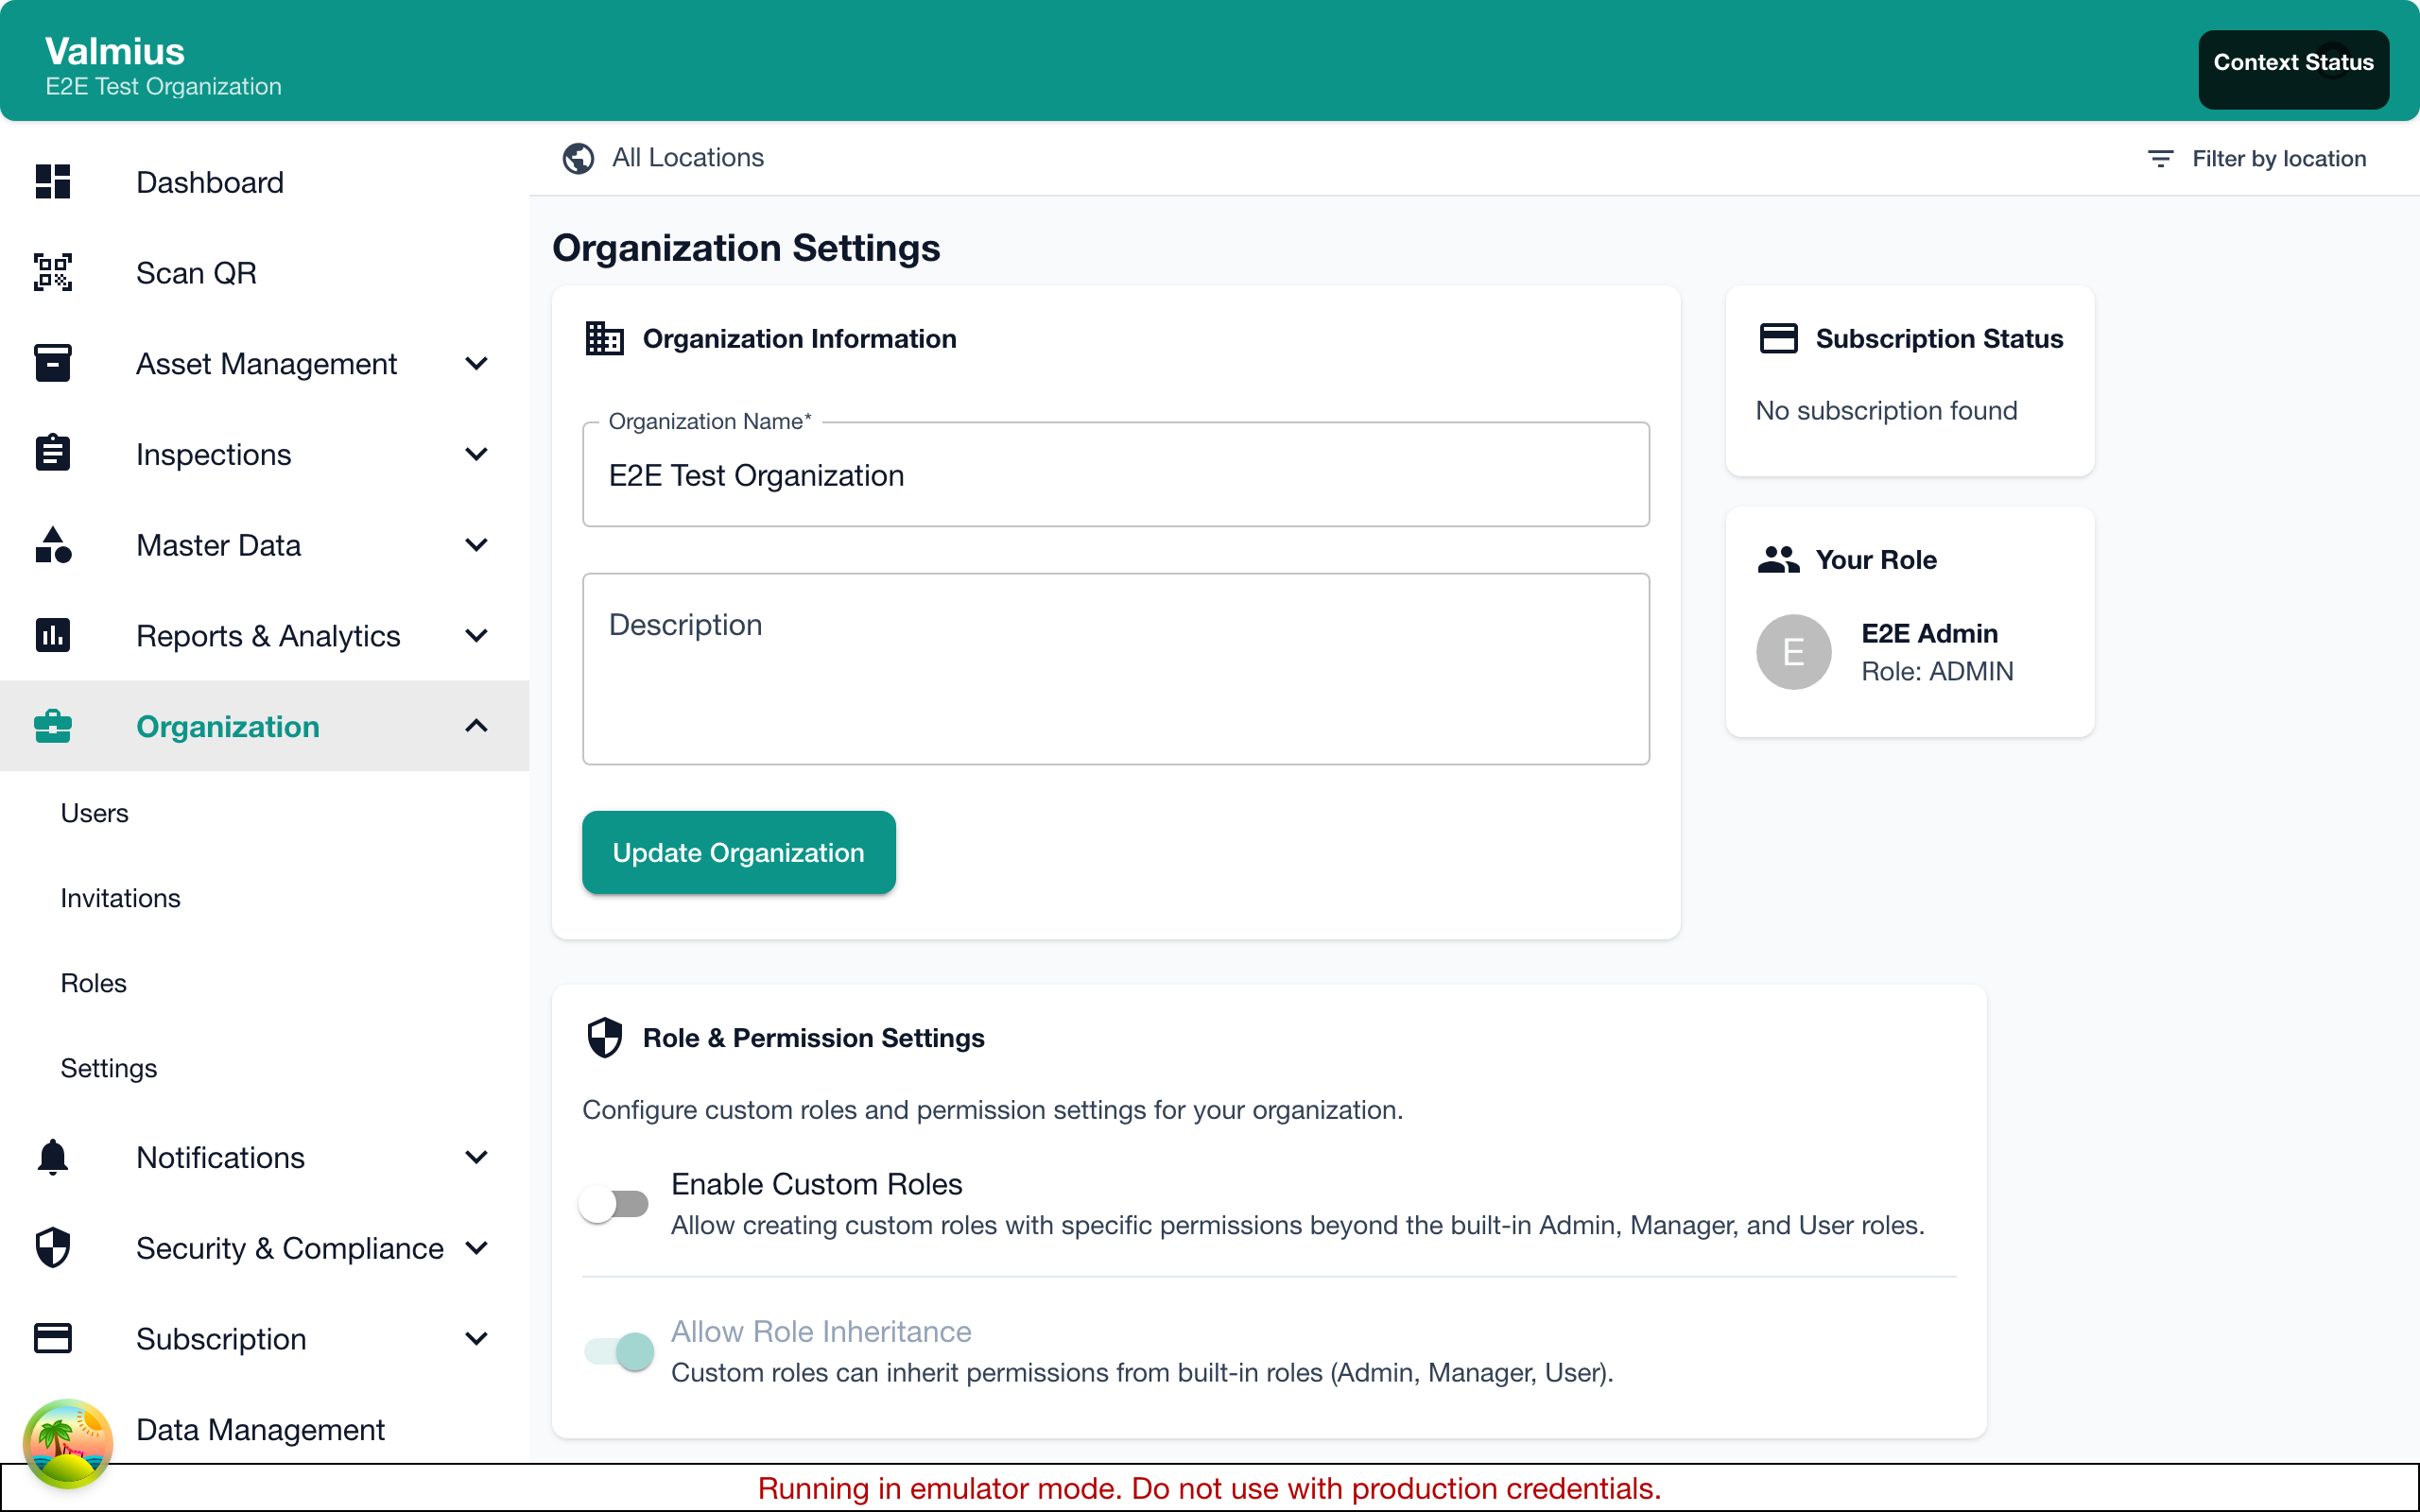
Organization Settings
Configure your organization's preferences and settings in Kuviq.
Overview
Organization settings control how Kuviq works for your entire team:
- Basic organization information
- Timezone and regional settings
- Branding and appearance
- Default behaviors
- Integration settings
Accessing Settings
- Navigate to Admin > Settings
- Or click the gear icon in the navigation
Only administrators can modify organization settings.
Organization Profile
Basic Information
Configure your organization's identity:
| Setting | Description |
|---|---|
| Organization Name | Your company or team name |
| Industry | Your industry sector |
| Address | Physical address (optional) |
| Phone | Contact phone number |
| Website | Your organization's website |
Logo
Upload your organization logo:
- Click Upload Logo
- Select an image file (PNG, JPG, SVG)
- Crop if needed
- Save
Your logo appears on:
- QR code labels (optional)
- Reports and exports
- Email notifications
Logo requirements:
- Recommended size: 200x200 pixels minimum
- Maximum file size: 2MB
- Square aspect ratio works best
Timezone Settings
Organization Timezone
Set the default timezone for your organization:
- Select your timezone from the dropdown
- Save
The timezone affects:
- Inspection due dates and times
- Report date ranges
- Notification timing
- Displayed timestamps
User Timezones
Individual users can set their own timezone preference, but organization defaults apply for:
- Shared reports
- Scheduled notifications
- System-wide dates
Regional Settings
Date Format
Choose how dates appear:
| Format | Example |
|---|---|
| MM/DD/YYYY | 12/25/2024 |
| DD/MM/YYYY | 25/12/2024 |
| YYYY-MM-DD | 2024-12-25 |
Time Format
Choose 12-hour or 24-hour time:
| Format | Example |
|---|---|
| 12-hour | 2:30 PM |
| 24-hour | 14:30 |
Number Format
Configure number display:
- Decimal separator (. or ,)
- Thousands separator (, or .)
Default Behaviors
Item Defaults
Set default values for new items:
| Setting | Description |
|---|---|
| Default Location | Pre-selected location |
| Default Item Type | Pre-selected type |
| Auto-generate Serial | Automatically create serial numbers |
Inspection Defaults
Configure inspection behavior:
| Setting | Description |
|---|---|
| Default Warning Period | Days before due to show warning |
| Overdue Notification Frequency | How often to remind about overdue |
| Require Photos | Default photo requirement |
| Require Signatures | Default signature requirement |
Notification Defaults
Set organization-wide notification preferences:
- Email notification frequency
- Default notification types enabled
- Escalation timeframes
Branding
Theme
Customize colors (Professional and Enterprise plans):
- Primary color
- Secondary color
- Accent color
Report Branding
Add branding to exported reports:
- Include logo
- Custom header text
- Footer text
- Contact information
QR Code Branding
Customize QR code labels:
- Include organization logo
- Default label size
- Include organization name
Security Settings
Password Policy
Configure password requirements:
| Setting | Options |
|---|---|
| Minimum Length | 8-16 characters |
| Require Uppercase | Yes/No |
| Require Numbers | Yes/No |
| Require Special Characters | Yes/No |
Session Settings
| Setting | Description |
|---|---|
| Session Timeout | Auto-logout after inactivity |
| Remember Me Duration | How long to stay logged in |
Two-Factor Authentication
Enable organization-wide 2FA (Enterprise plan):
- Go to Security Settings
- Enable Require 2FA
- Set grace period for users to enable
- Save
Data Settings
Data Retention
Configure how long data is retained:
| Data Type | Default Retention |
|---|---|
| Inspection Records | Indefinite |
| Audit Logs | 1 year |
| Deleted Items | 30 days |
Export Settings
Default export preferences:
- Default file format (CSV, Excel, PDF)
- Include headers
- Date range defaults
Email Settings
Sender Information
Configure how emails appear:
| Setting | Description |
|---|---|
| From Name | Sender name in emails |
| Reply-To Address | Where replies go |
Email Templates
Customize email content (Enterprise plan):
- Invitation emails
- Notification emails
- Report delivery emails
Integration Settings
API Access
Enable API access for integrations:
- Go to Integrations
- Enable API Access
- Generate API keys
See API Documentation for integration details.
Webhooks
Configure webhooks for real-time updates:
- Go to Integrations > Webhooks
- Add webhook URL
- Select events to send
- Test and save
Changing Settings
Making Changes
- Navigate to the setting category
- Modify the values
- Click Save
Most changes take effect immediately.
What Requires Re-login
Some changes require users to log out and back in:
- Security policy changes
- Session timeout changes
- Permission-related settings
Resetting to Defaults
To reset a setting to its default value:
- Click the reset icon next to the setting
- Confirm the reset
- Save
To reset all settings in a category:
- Click Reset to Defaults at the bottom
- Confirm
- All settings in that section reset
Best Practices
Initial Setup
- Set timezone first
- Configure regional settings
- Upload your logo
- Set appropriate defaults
- Review security settings
Ongoing Management
- Review settings quarterly
- Update branding as needed
- Adjust defaults based on usage patterns
- Keep security settings current
Multi-Site Organizations
- Use settings that work across all sites
- Consider timezone implications
- Use location-based overrides where available
- Standardize on date/time formats
Troubleshooting
Times Appear Wrong
- Check organization timezone setting
- Verify user hasn't overridden timezone
- Consider daylight saving time
Logo Not Appearing
- Check file size and format
- Try re-uploading
- Clear browser cache
- Verify logo is enabled for the feature
Settings Not Saving
- Check you have admin permissions
- Look for validation errors
- Try refreshing and re-entering
- Contact support if persistent
Next Steps
- Users - Manage team members
- Subscription - Check plan features
- Permissions - Role-based access control