User Management
Learn how to manage users in your Kuviq organization.
Overview
User management allows administrators to:
- Invite new team members
- Assign roles and permissions
- Restrict access by location
- Monitor user activity
- Deactivate accounts when needed
Accessing User Management
- Navigate to Admin > Users
- View all users in your organization
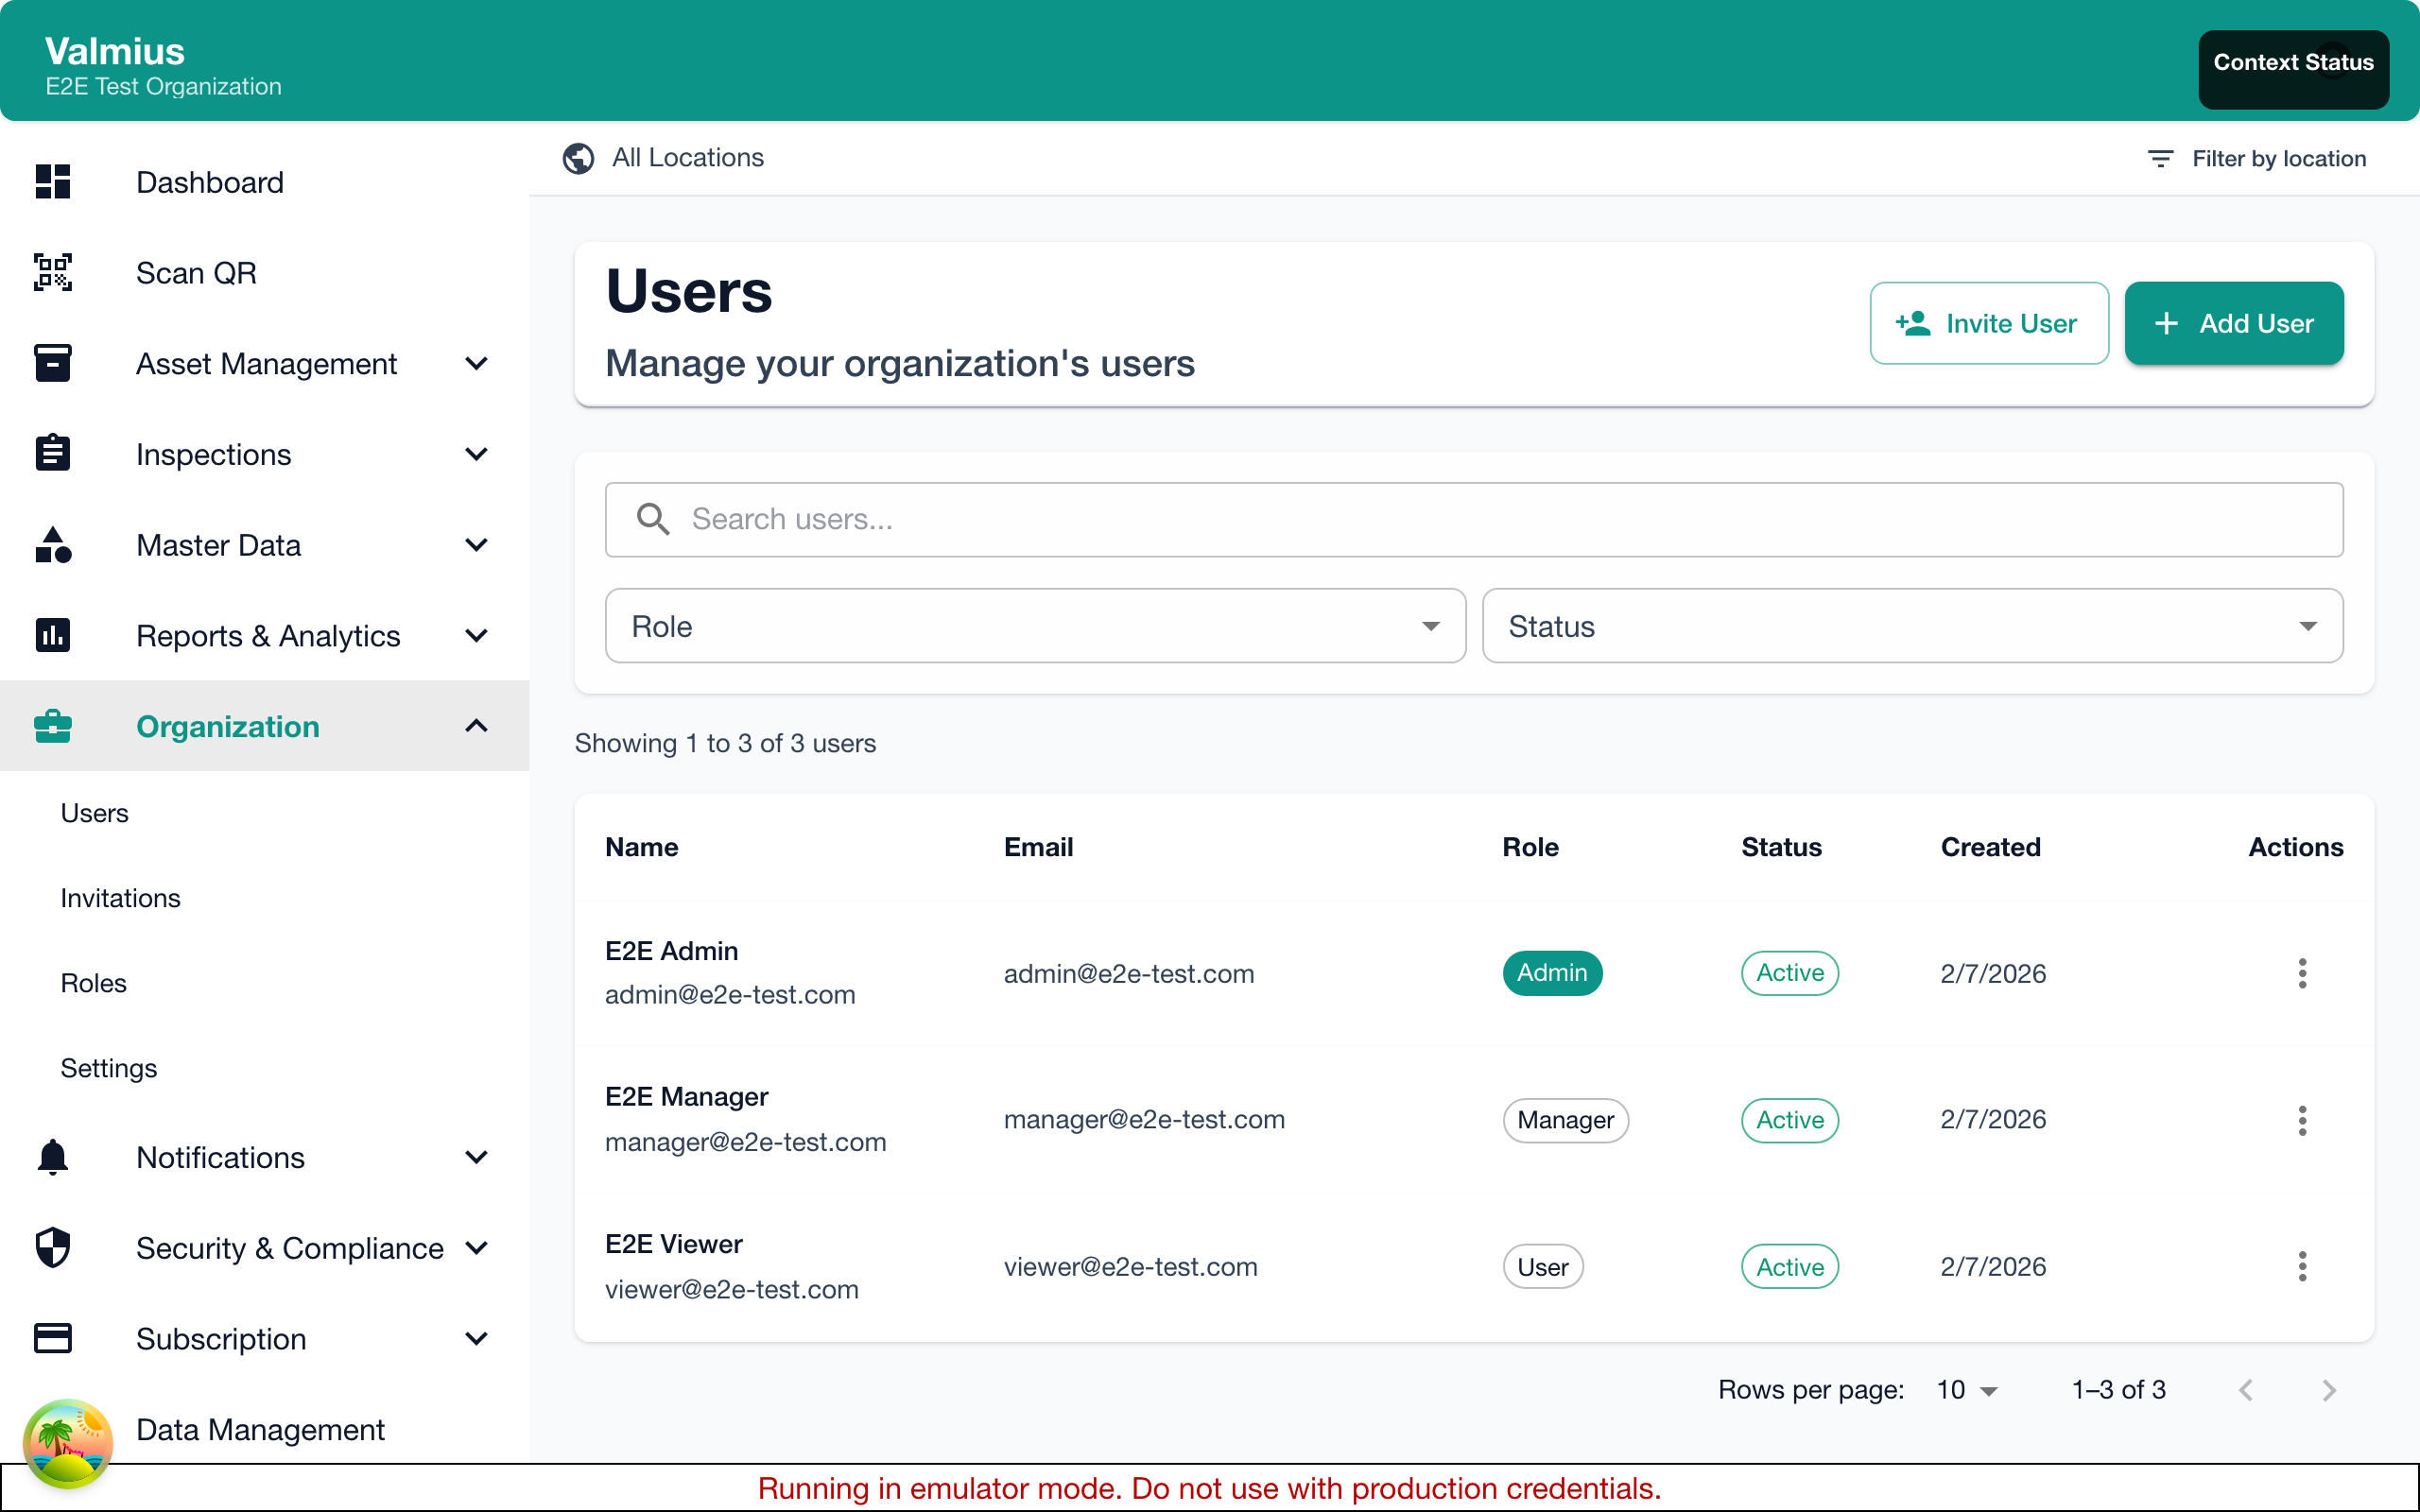
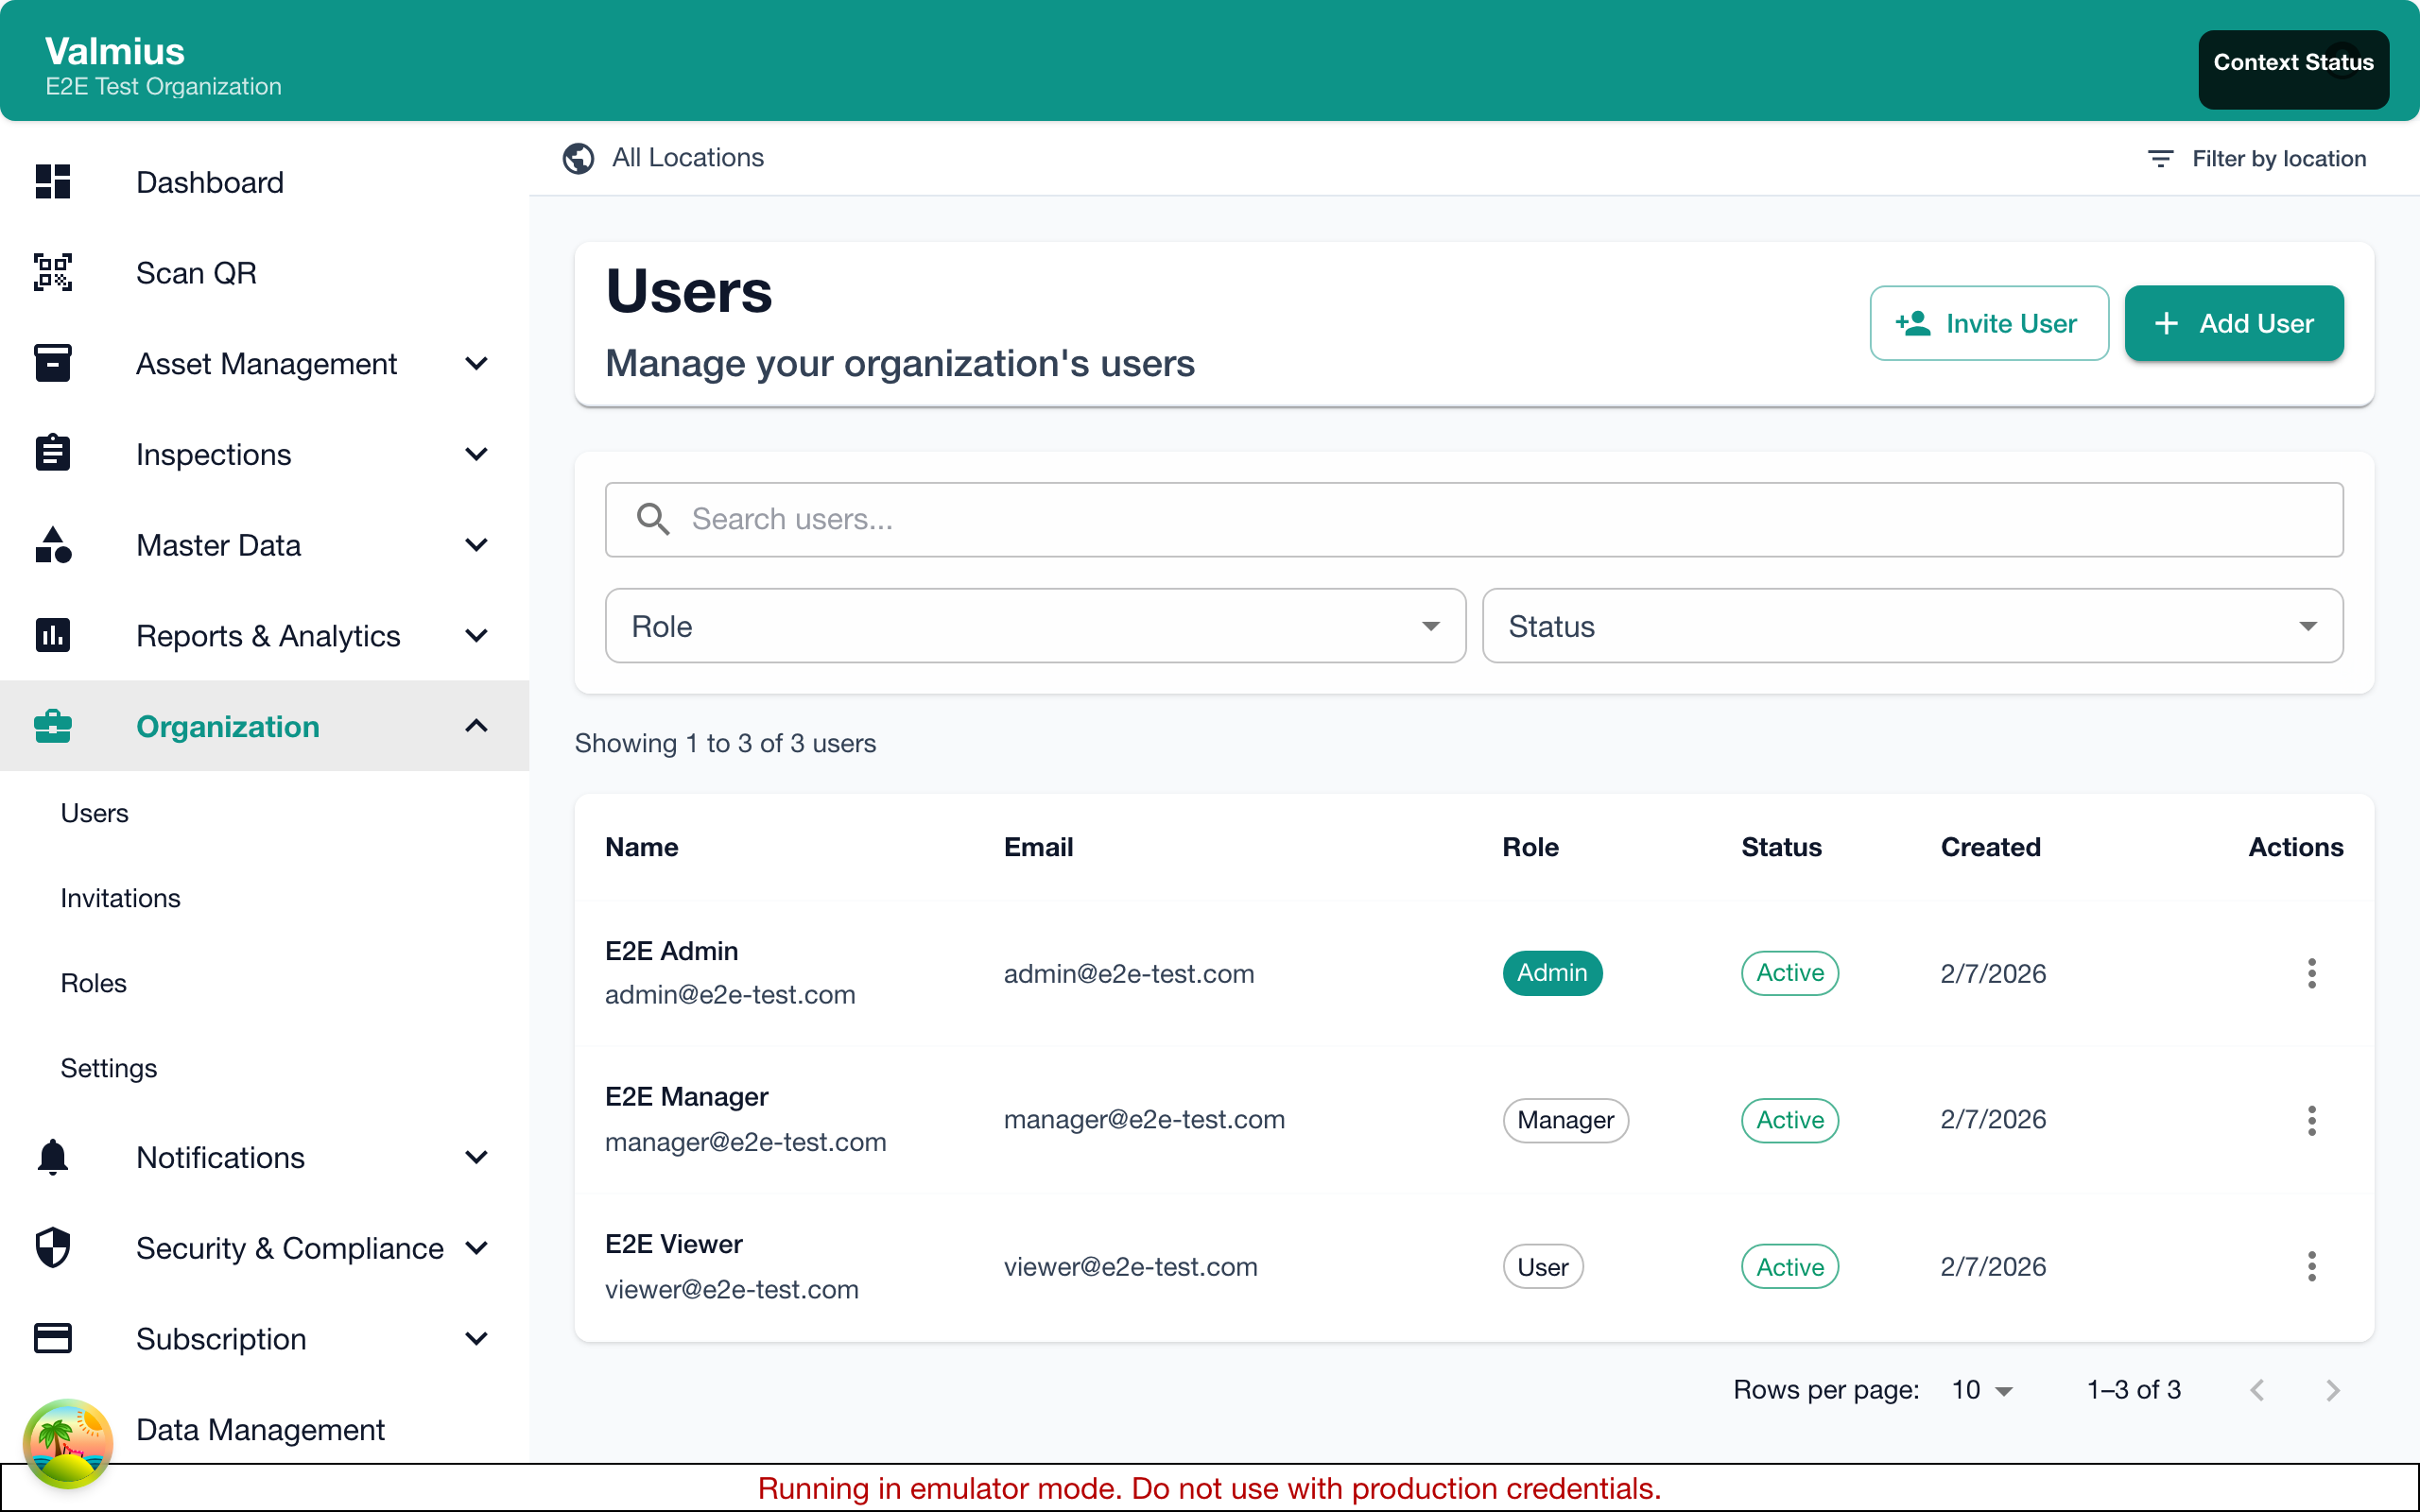
The User List
The user list displays:
| Column | Description |
|---|---|
| Name | User's full name |
| Login email address | |
| Role | Permission level (Admin, Manager, User) |
| Status | Active, Pending, or Deactivated |
| Locations | Assigned locations (if restricted) |
| Last Active | Most recent login or activity |
Filtering Users
Filter the user list by:
- Status - Active, Pending, Deactivated
- Role - Admin, Manager, User
- Location - Users assigned to specific locations
- Search - Find by name or email
Inviting New Users
Sending an Invitation
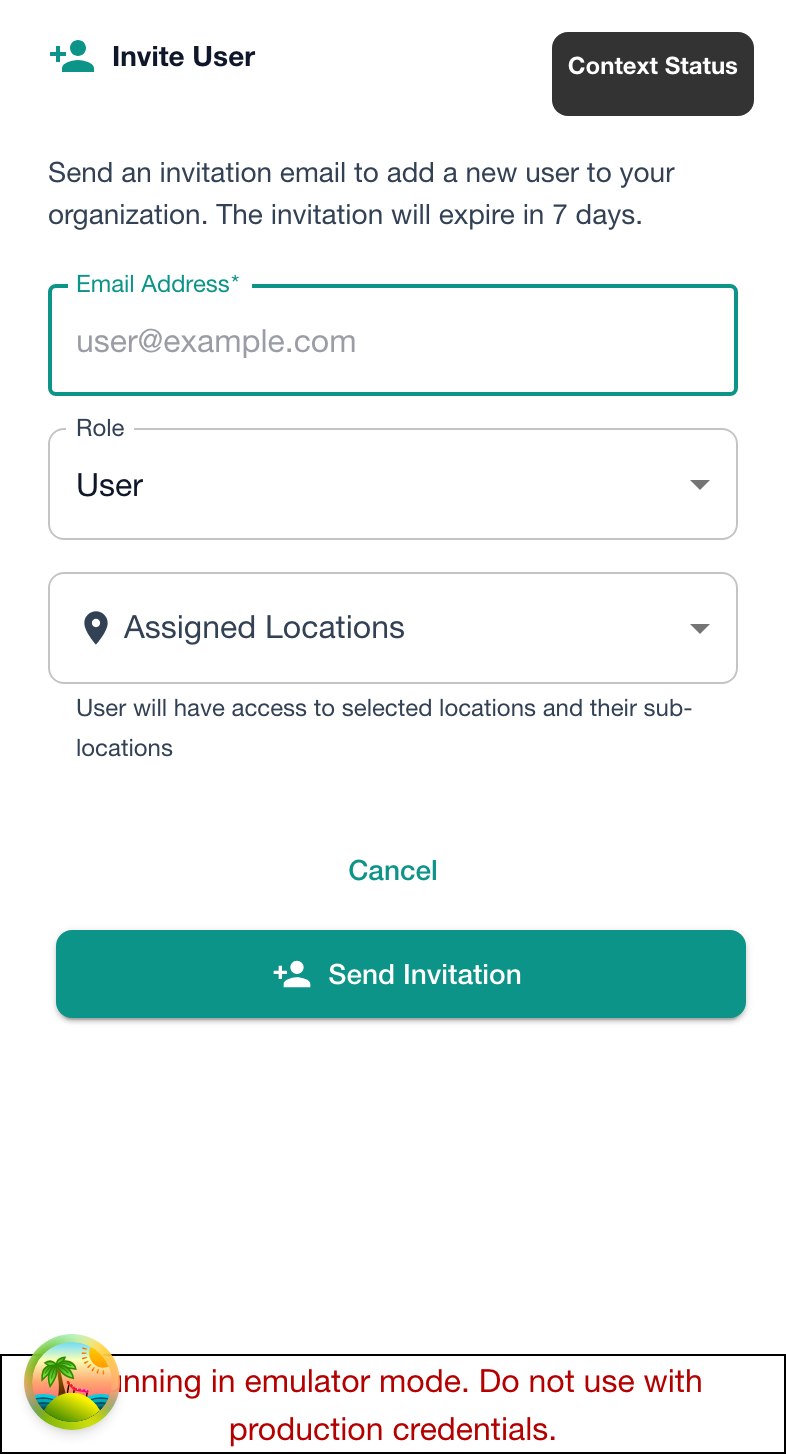
- Click Invite User
- Enter the user's email address
- Select their role:
- Super Admin - Full system access
- Admin - Full access except billing
- Manager - Operational management
- User - Basic inspection access
- Optionally restrict to specific locations
- Click Send Invitation
What Happens Next
The invited user receives an email with:
- Link to create their account
- Your organization name
- Brief instructions
The invitation appears as "Pending" in your user list until accepted.
Invitation Expiry
Invitations expire after 7 days. If the user hasn't accepted:
- Find the pending user
- Click Resend Invitation
- A new invitation email is sent
Bulk Invitations
To invite multiple users:
- Click Bulk Invite
- Enter multiple email addresses (one per line)
- Select a default role
- Send invitations
All users receive identical invitations with the same role.
Viewing User Details
Click on any user to see:
- Profile Information - Name, email, phone, title
- Role & Permissions - Current access level
- Assigned Locations - Location restrictions
- Activity History - Recent actions and logins
- Inspection History - Inspections performed
Editing Users
Changing User Information
- Click on the user
- Click Edit
- Update their information:
- Name
- Phone number
- Title/Position
- Save changes
Changing Roles
- Edit the user
- Select a new role
- Save changes
Role changes take effect immediately. The user may need to refresh their browser.
You cannot change your own role. Another administrator must do this to prevent accidental lockout.
Changing Location Access
- Edit the user
- Under Locations, select allowed locations
- Save changes
Users restricted to locations only see items at those locations.
User Roles Explained
Super Admin
Complete system control:
- All Admin capabilities
- Manage subscription and billing
- Delete organization data
- Access audit logs
Admin
Full operational access:
- Manage all users (except Super Admin)
- Configure all settings
- Access all items and inspections
- Generate all reports
- Cannot access billing
Manager
Operational management:
- View and manage all items
- Perform and review all inspections
- Generate operational reports
- Cannot manage users
- Cannot change configuration
User
Day-to-day operations:
- View assigned items
- Perform inspections
- View own inspection history
- Limited to assigned locations
Deactivating Users
When a team member leaves or no longer needs access:
Deactivating an Account
- Find the user in the list
- Click Deactivate
- Confirm the action
What Happens
- User cannot log in
- Their inspection history is preserved
- Their name remains on past inspections
- License seat is freed for new users
Reactivating Users
If a user returns:
- Find the deactivated user (filter by status)
- Click Reactivate
- Verify their role and permissions
- Save
The user can immediately log in again.
Self-Service Profile
Users can update their own profile:
- Name
- Phone number
- Title
- Password
They cannot change their own role or permissions.
User Limits
Your subscription plan determines how many users you can have:
- Check current usage in Admin > Subscription
- Upgrade your plan if you need more users
- Deactivate unused accounts to free seats
Best Practices
Security
- Minimum necessary access - Only grant permissions users need
- Regular reviews - Audit user access quarterly
- Prompt deactivation - Remove access immediately when employees leave
- Strong passwords - Encourage complex passwords
Organization
- Use descriptive titles - Help identify user responsibilities
- Location restrictions - Use for multi-site organizations
- Document roles - Maintain a record of who has what access
Onboarding
- Prepare before inviting - Have role and locations ready
- Send welcome information - Include login instructions
- Provide training - Help new users get started
Troubleshooting
User Didn't Receive Invitation
- Check spam/junk folder
- Verify email address is correct
- Resend the invitation
User Can't Log In
- Check account status (not deactivated)
- Verify email address
- Have them reset their password
- Check for typos in email
User Can't See Items
- Check their location restrictions
- Verify their role has appropriate permissions
- Ensure items are at their assigned locations
Next Steps
- Permissions - Detailed permission configuration
- Locations - Setting up location hierarchy
- Roles - In-depth role descriptions