Onboarding Wizard
Get started quickly with the guided setup wizard.
Overview
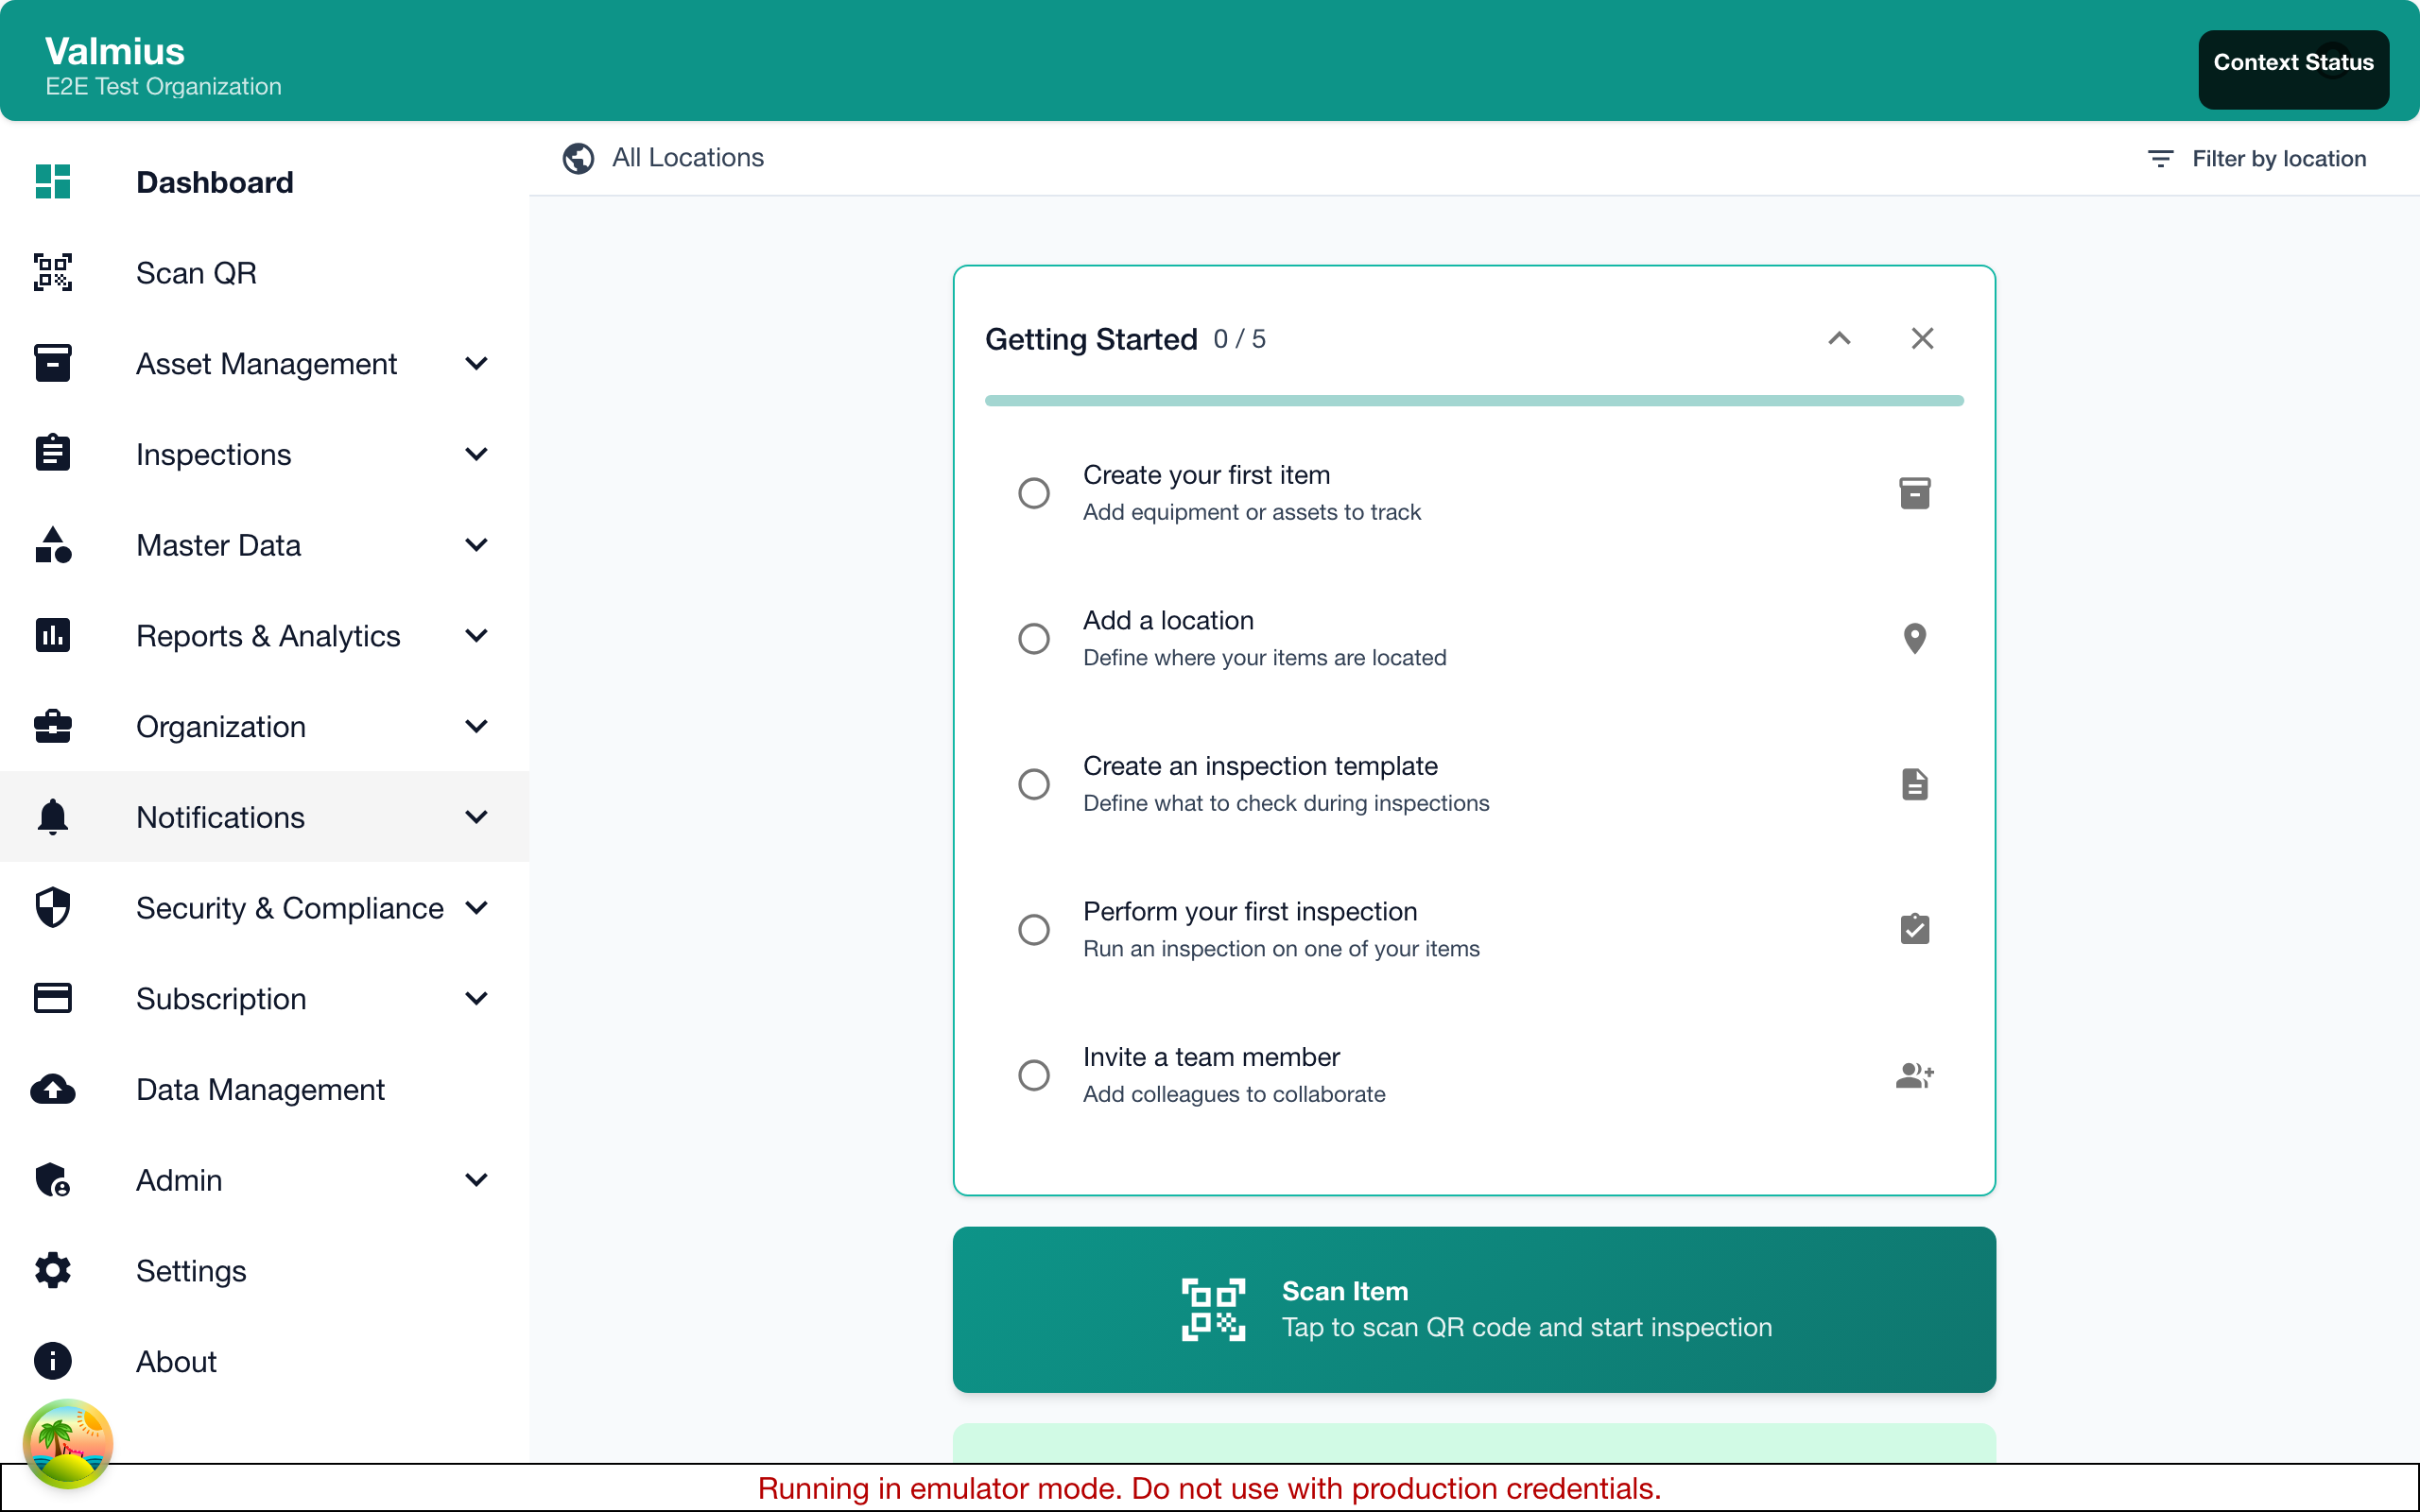
The onboarding wizard helps you:
- Configure your organization
- Set up essential data
- Learn key features
- Start using Kuviq quickly
When You'll See the Wizard
The wizard appears:
- After creating a new organization
- First time logging in as new admin
- When invited to set up organization
Wizard Steps
Overview of Steps
- Welcome - Introduction
- Organization Profile - Basic settings
- Locations - Set up locations
- Item Types - Create item types
- First Items - Add items
- Inspection Templates - Create templates
- Invite Team - Add users
- Review - Final check
- Complete - Ready to go
Skipping Steps
You can:
- Skip optional steps
- Come back later
- Complete in settings
Recommended to complete for best experience.
Step 1: Welcome

What Happens
- Introduction to Kuviq
- Overview of what you'll set up
- Estimated time (10-15 minutes)
Options
- Start Setup - Begin wizard
- Skip for Now - Explore on your own
- Load Demo Data - Pre-populated example
Step 2: Organization Profile
Settings to Configure
| Setting | Description |
|---|---|
| Organization Name | Your company name |
| Timezone | Default timezone |
| Date Format | Preferred format |
| Industry | Your sector (optional) |
Why It Matters
- Timezone affects scheduling
- Date format for consistency
- Industry helps customize templates
Tips
- Use timezone where most users are
- Match date format to your region
- Can be changed later
Step 3: Locations
Creating Locations
Set up your physical structure:
- Add top-level locations (sites, buildings)
- Add sub-locations as needed
- Build your hierarchy
Suggested Structure
Organization
├── Main Office
│   ├── Floor 1
│   └── Floor 2
├── Warehouse
│   ├── Zone A
│   └── Zone B
└── Remote Site
Quick Add Options
- Add one at a time
- Import from list
- Copy from template
Minimum Requirement
At least one location recommended.
Step 4: Item Types
What Are Item Types?
Categories for your equipment:
- Fire Extinguisher
- First Aid Kit
- Safety Equipment
- Vehicles
- Tools
Creating Item Types
- Enter type name
- Add description (optional)
- Configure custom fields
- Set inspection requirements
Suggested Item Types
System may suggest based on:
- Your industry
- Common equipment
- Best practices
Custom Fields
Add type-specific fields:
- Expiration date
- Serial number format
- Manufacturer requirements
- Inspection frequency
Step 5: First Items
Adding Initial Items
Get started with real items:
- Enter item name
- Select type
- Select location
- Add details
Bulk Add Option
For many items:
- Import from CSV
- Copy from template
- Add demo items
Minimum Recommendation
Add at least one real item to practice with.
Step 6: Inspection Templates
Creating Templates
Set up how items are inspected:
- Name the template
- Link to item types
- Add inspection elements
- Configure pass/fail conditions
Element Types
| Type | Use For |
|---|---|
| Pass/Fail | Simple yes/no checks |
| Text | Notes, observations |
| Number | Measurements |
| Photo | Visual documentation |
| Signature | Sign-off |
Template Example
Fire Extinguisher Monthly Check:
- Pressure gauge (Pass/Fail)
- Seal intact (Pass/Fail)
- Body condition (Pass/Fail)
- Location signage (Pass/Fail)
- Notes (Text)
- Photo (Photo)
Step 7: Invite Team
Adding Users
Invite your team members:
- Enter email addresses
- Assign roles
- Assign locations (optional)
- Send invitations
Role Suggestions
| Role | Who |
|---|---|
| Admin | Management, IT |
| Manager | Supervisors |
| User | Inspectors, Staff |
Invitation Process
Users will:
- Receive email invitation
- Create password
- Log in and start working
Skip Option
Can invite later from Settings.
Step 8: Review
Review Your Setup
See summary of:
- Organization settings
- Locations created
- Item types defined
- Items added
- Templates created
- Users invited
Make Changes
Before completing:
- Click any section to edit
- Add more items
- Adjust settings
Step 9: Complete
Congratulations!
You're ready to use Kuviq.
Next Steps Suggested
- Perform first inspection
- Explore dashboard
- Add more items
- View reports
Quick Start Guide
Links to:
- How to scan QR codes
- How to perform inspections
- How to manage items
After the Wizard
What's Set Up
After completing:
- Organization configured
- Basic structure in place
- Ready for daily use
- Foundation for expansion
What to Do Next
- Add more items - Build your inventory
- Invite more users - Expand your team
- Refine templates - Customize inspections
- Start inspecting - Begin daily operations
Accessing Setup Later
Return to setup areas:
- Admin > Settings - Organization settings
- Admin > Locations - Add locations
- Admin > Item Types - Configure types
- Admin > Users - Manage team
Re-Running the Wizard
Starting Over
To restart the wizard:
- Go to Admin > Settings
- Find Onboarding
- Click Restart Wizard
When to Restart
- Made mistakes during initial setup
- Want to add demo data
- Testing with new configuration
Note
Re-running doesn't delete existing data.
Tips for Success
Before Starting
- Know your location structure
- List equipment types
- Have team emails ready
- Allow 15-20 minutes
During Setup
- Don't rush
- Use real data when possible
- Skip and return if unsure
- Take notes
After Completion
- Test with real inspection
- Get team feedback
- Refine as needed
- Add more gradually
Troubleshooting
Wizard Doesn't Appear
Check:
- You're an admin
- New organization
- Clear browser cache
Can't Complete Step
Try:
- Check required fields
- Verify valid data
- Skip and return later
Made a Mistake
- Most changes can be edited
- Restart wizard if needed
- Contact support for help
Next Steps
- Demo Data - Learn with sample data
- Basic Setup - Detailed setup guide
- Quick Tour - Navigate Kuviq