Basic Setup
After completing the onboarding wizard, follow these steps to fully configure your Kuviq organization.
Organization Settings
Configure your organization's basic information:
- Navigate to Organization > Settings (or Settings in the menu)
- Update your organization details:
- Organization name
- Contact information
- Timezone preferences
- Regional settings
Step 1: Review and Customize Locations
The onboarding wizard creates default locations. Customize these for your organization:
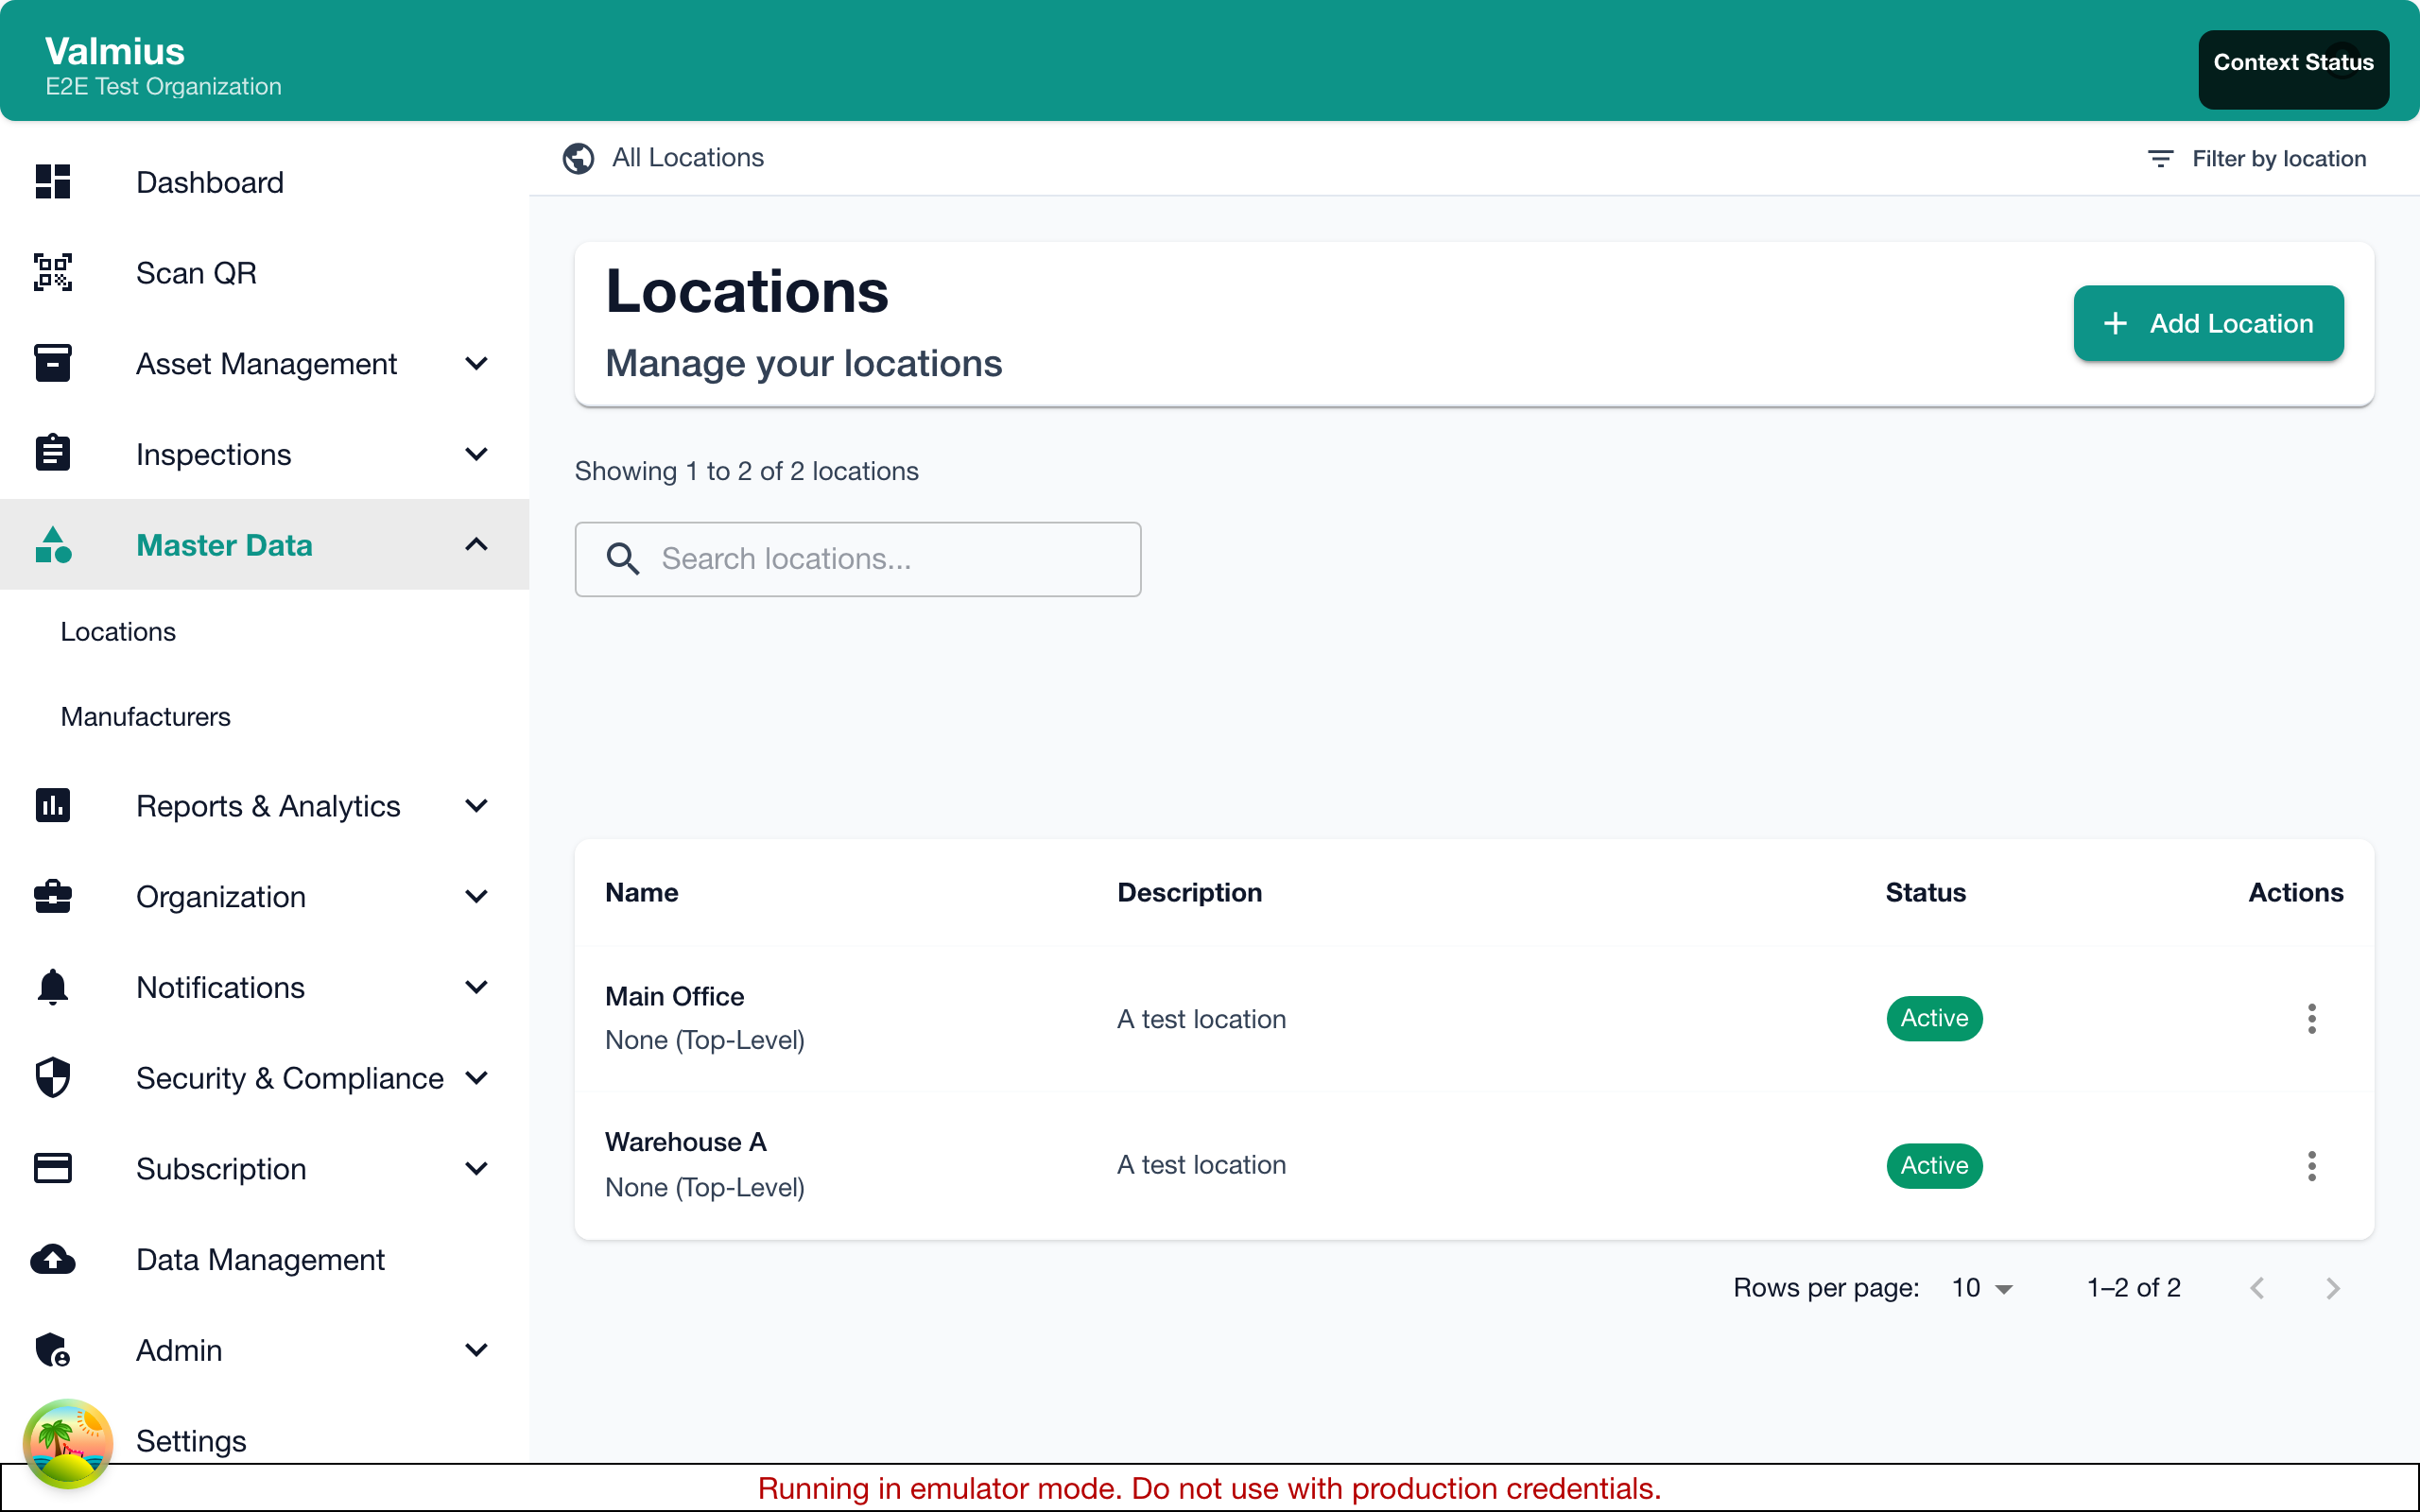
Viewing Locations
- Go to Locations in the navigation
- View your location hierarchy
Editing Locations
- Click on a location to edit
- Update the name and description
- Save changes
Creating New Locations
- Click Add Location
- Enter the location name
- Select a parent location (optional) to create a hierarchy
- Add a description
- Save
Location Hierarchy Example
Main Office
├── Floor 1
│   ├── Reception
│   ├── Meeting Rooms
│   └── Server Room
├── Floor 2
│   ├── Open Office
│   └── Executive Suite
└── Parking Garage
    ├── Level 1
    └── Level 2

Warehouse
├── Loading Dock
├── Storage Area A
└── Storage Area B
Organize locations to match how your team thinks about physical spaces. This makes it easier to find items and assign inspections.
Step 2: Configure Item Types
Item types categorize your equipment and link to inspection templates.
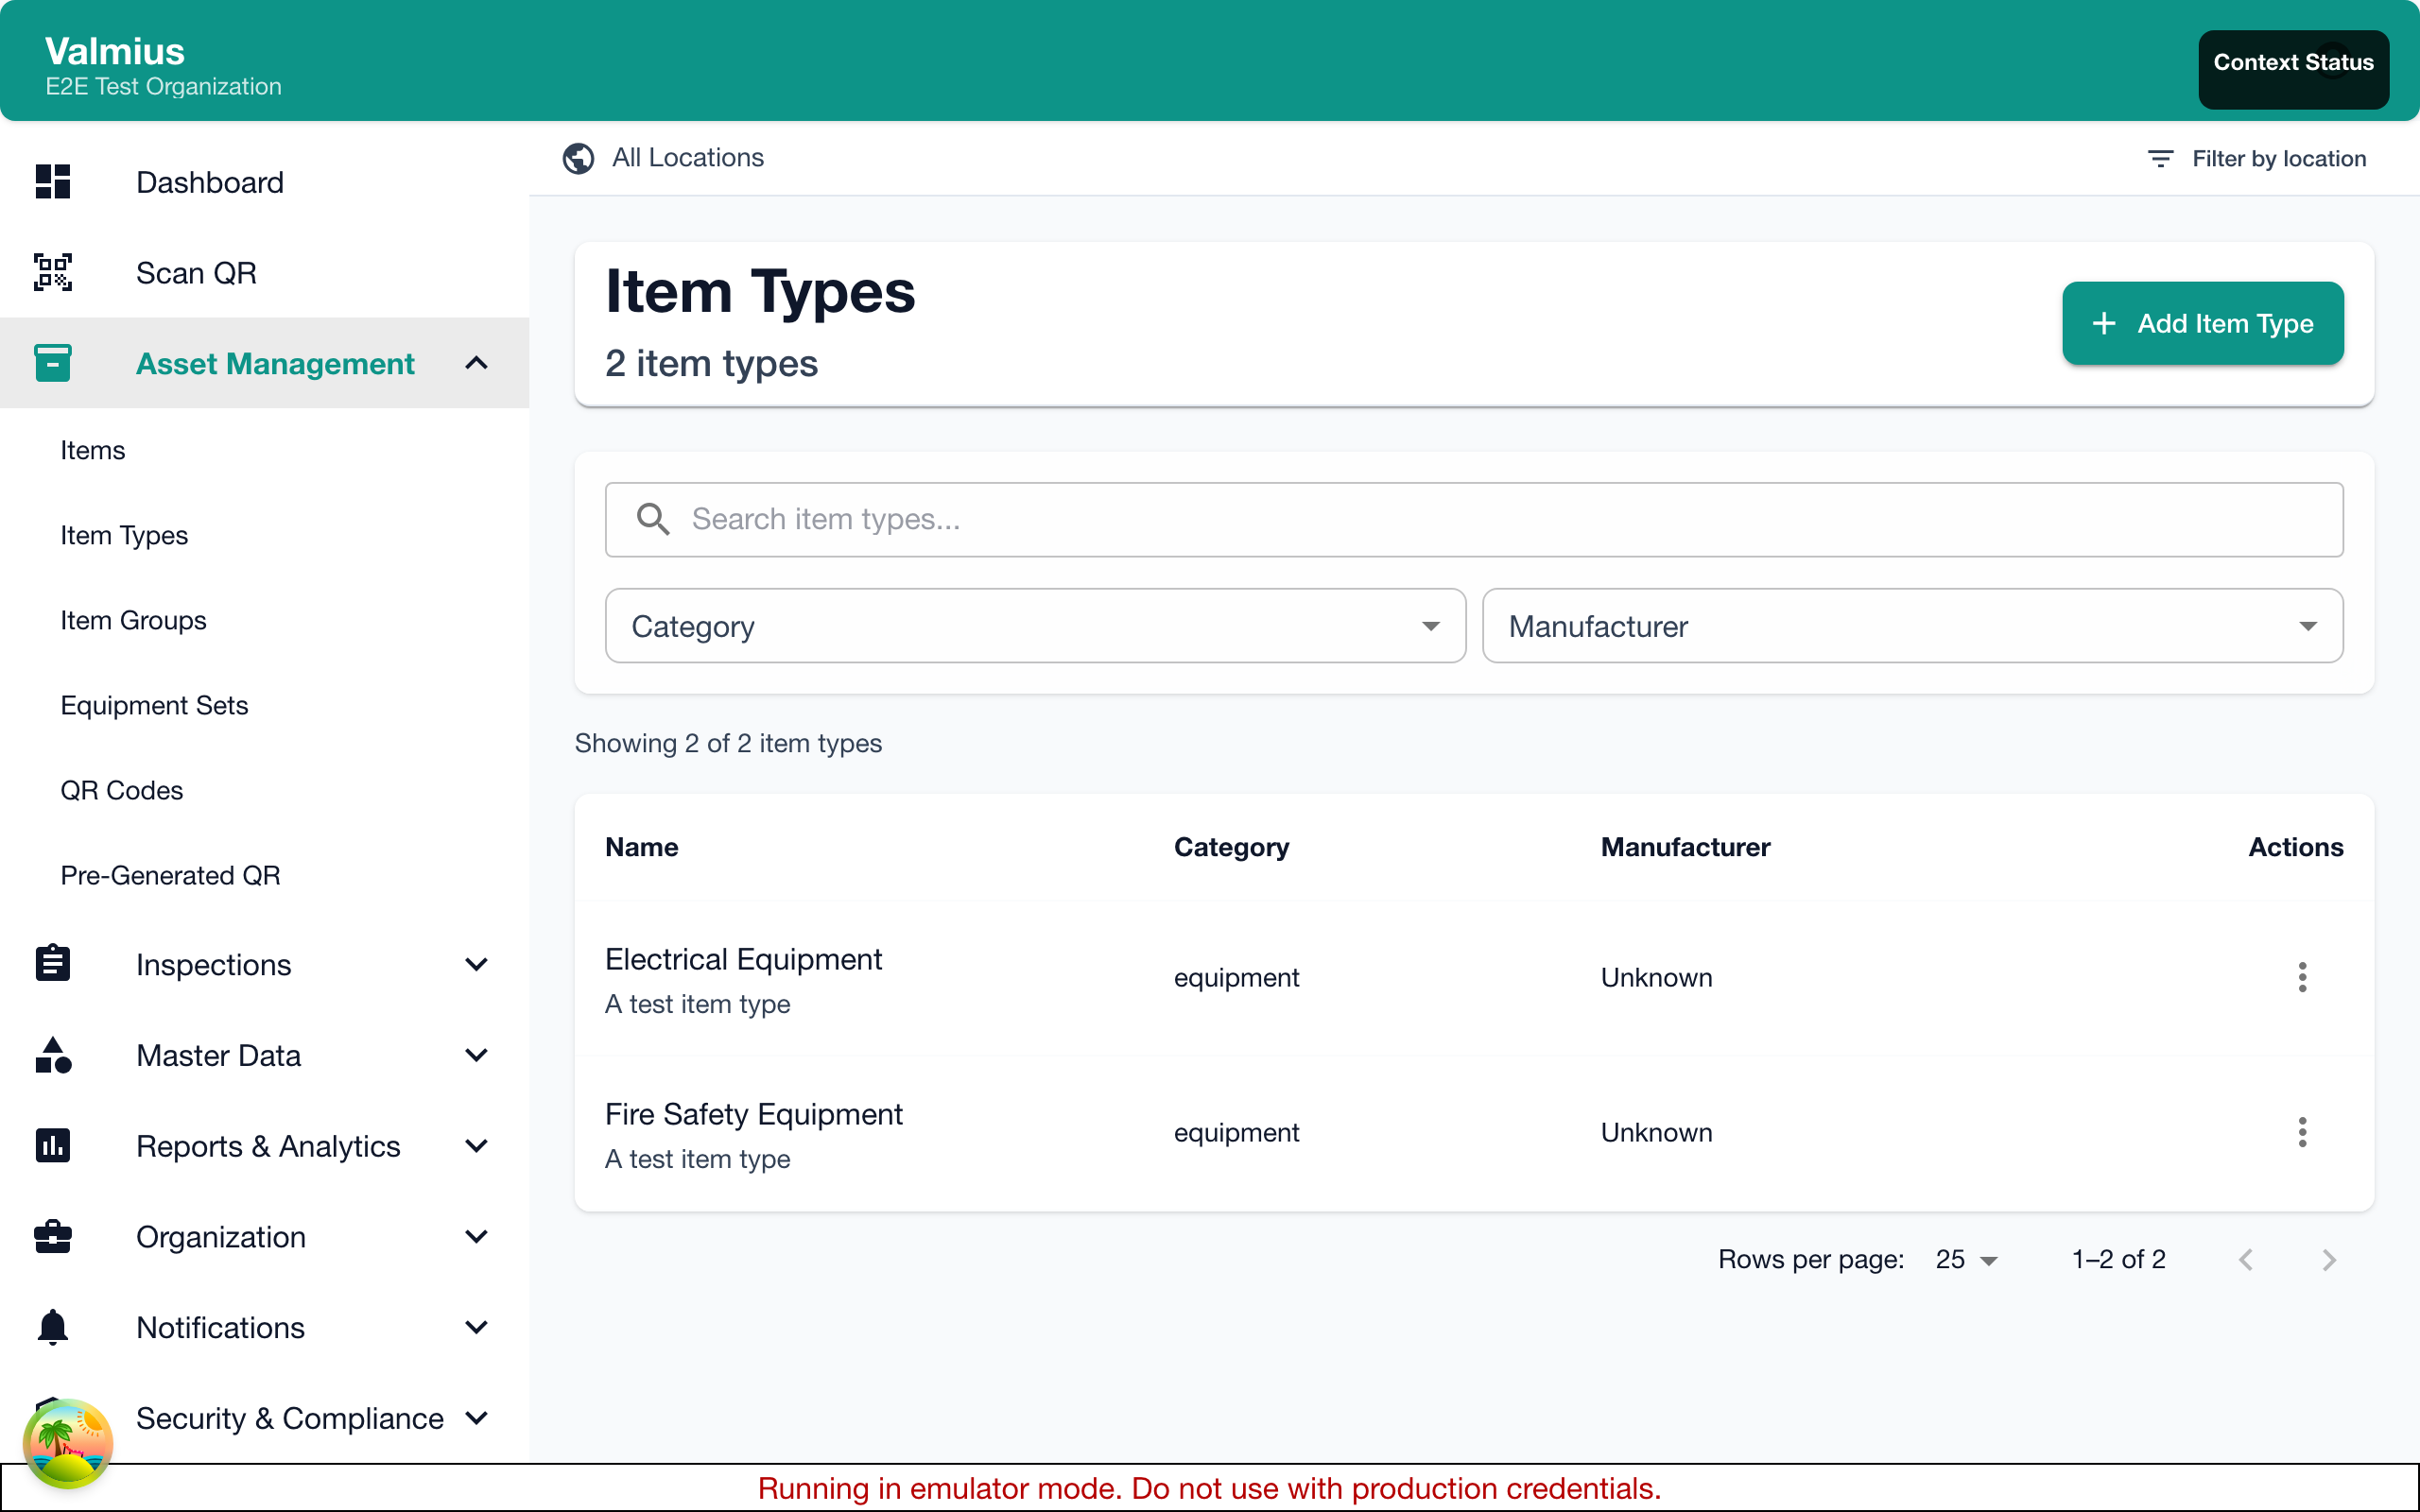
Reviewing Default Types
The onboarding creates three default item types:
- General Equipment
- Safety Equipment
- Tools
Creating Custom Item Types
- Go to Items > Item Types
- Click Add Item Type
- Enter:
- Name - Category name (e.g., "Fire Extinguishers")
- Description - What this category includes
- Default Template - Which inspection template to use
- Save
Custom Fields
Add fields specific to an item type:
- Edit the item type
- Add custom fields:
- Text - Short text (e.g., "Model Number")
- Number - Numeric values (e.g., "Capacity (lbs)")
- Date - Dates (e.g., "Warranty Expiration")
- Dropdown - Selection from options (e.g., "Size: Small/Medium/Large")
Step 3: Set Up Inspection Templates
Inspection templates define what gets checked during an inspection.
Reviewing Default Templates
Templates from the onboarding wizard are ready to use. Review them at Inspections > Templates.
Creating a New Template
- Go to Inspections > Templates
- Click Add Template
- Enter basic information:
- Name - Template name
- Description - What this inspection covers
- Estimated Duration - How long it typically takes
- Required Tools - Any tools needed
- Add inspection elements (see below)
- Save
Inspection Element Types
| Element Type | Use Case | Example |
|---|---|---|
| Checkbox | Pass/fail items | "Safety guard in place" |
| Text | Short answers | "Serial number observed" |
| Text Area | Long descriptions | "Describe any damage" |
| Number | Measurements | "Pressure reading (PSI)" |
| Dropdown | Multiple choice | "Condition: Good/Fair/Poor" |
| Photo | Visual documentation | "Photo of equipment" |
| Signature | Sign-off | "Inspector signature" |
| Date | Date values | "Next service due" |
Setting Pass Conditions
For elements that determine pass/fail:
- Edit the element
- Enable Pass Condition
- Set the condition:
- Equals - Must equal a specific value
- Not Equals - Must not equal a value
- Greater Than - Numeric comparison
- Less Than - Numeric comparison
- Between - Within a range
- Contains - Text must contain string
- Add Failure Guidance to help inspectors when items fail
Step 4: Create Inspection Schedules
Automate recurring inspections with schedules.
Creating a Schedule
- Go to Inspections > Schedules
- Click Add Schedule
- Configure:
- Name - Schedule name
- Template - Which inspection template to use
- Target - What to inspect:
- All items of a type
- Items at a specific location
- Specific items
- An item group
- Frequency - How often:
- Daily
- Weekly (select days)
- Monthly (select date)
- Quarterly
- Annually
- Custom interval
- Assigned Inspector (optional)
- Start Date and End Date (optional)
- Save
Schedule Examples
| Schedule | Frequency | Target |
|---|---|---|
| Fire Extinguisher Monthly Check | Monthly | All items of type "Fire Extinguisher" |
| Server Room Daily Walk-through | Daily | Location "Server Room" |
| Quarterly Safety Equipment Audit | Quarterly | Item Group "Critical Safety" |
Step 5: Add Your Equipment
Now add your actual equipment to Kuviq.
Adding Items Individually
- Go to Items
- Click Add Item
- Fill in:
- Name - Item name
- Item Type - Select category
- Location - Where it's located
- Serial Number (optional)
- Manufacturer (optional)
- Custom fields for the item type
- Save
Bulk Import
For large inventories:
- Go to Data Management
- Select Import
- Upload a CSV or Excel file
- Map columns to fields
- Validate and import
Download an import template from the Data Management page to ensure your data is formatted correctly.
Step 6: Invite Team Members
Add users to help manage inspections.
Inviting Users
- Go to Organization > Users
- Click Invite User
- Enter:
- Email Address
- Role - Admin, Manager, or User
- Locations (for location-based access)
- Send invitation
Role Recommendations
| Role | Recommended For |
|---|---|
| Admin | Organization managers, IT administrators |
| Manager | Team leads, supervisors |
| User | Field inspectors, technicians |
Location-Based Access
Restrict users to specific locations:
- Edit the user
- Under Locations, select allowed locations
- The user will only see items at those locations
Step 7: Generate QR Codes
Print QR codes for quick equipment identification.
Individual QR Codes
- Open an item's details page
- Click Print QR Code
- Select size and options
Bulk Printing
- Go to Items > QR Codes
- Select items to print
- Configure label options:
- Size (12mm, 25mm, 50mm)
- Include logo
- Colors
- Generate PDF
Checklist Summary
Before you start using Kuviq in production:
- Organization settings configured
- Locations created and organized
- Item types defined with custom fields
- Inspection templates created or customized
- Inspection schedules set up
- Equipment added (individually or via import)
- Team members invited
- QR codes printed and applied to equipment
Next Steps
Your organization is now set up! Continue with:
- Viewing Items - Browse your inventory
- Performing Inspections - Start inspecting
- Printing QR Codes - Label your equipment