Creating Items
Learn how to add new equipment to your Kuviq inventory.
Before You Begin
To create items, you'll need:
- Create permission for items (Admin, Manager, or granted permission)
- At least one Item Type configured
- At least one Location configured
If you don't see item types or locations when creating items, ask your administrator to set these up first.
Adding a Single Item
Step 1: Open the Add Item Form
- Navigate to Items
- Click Add Item or the + button
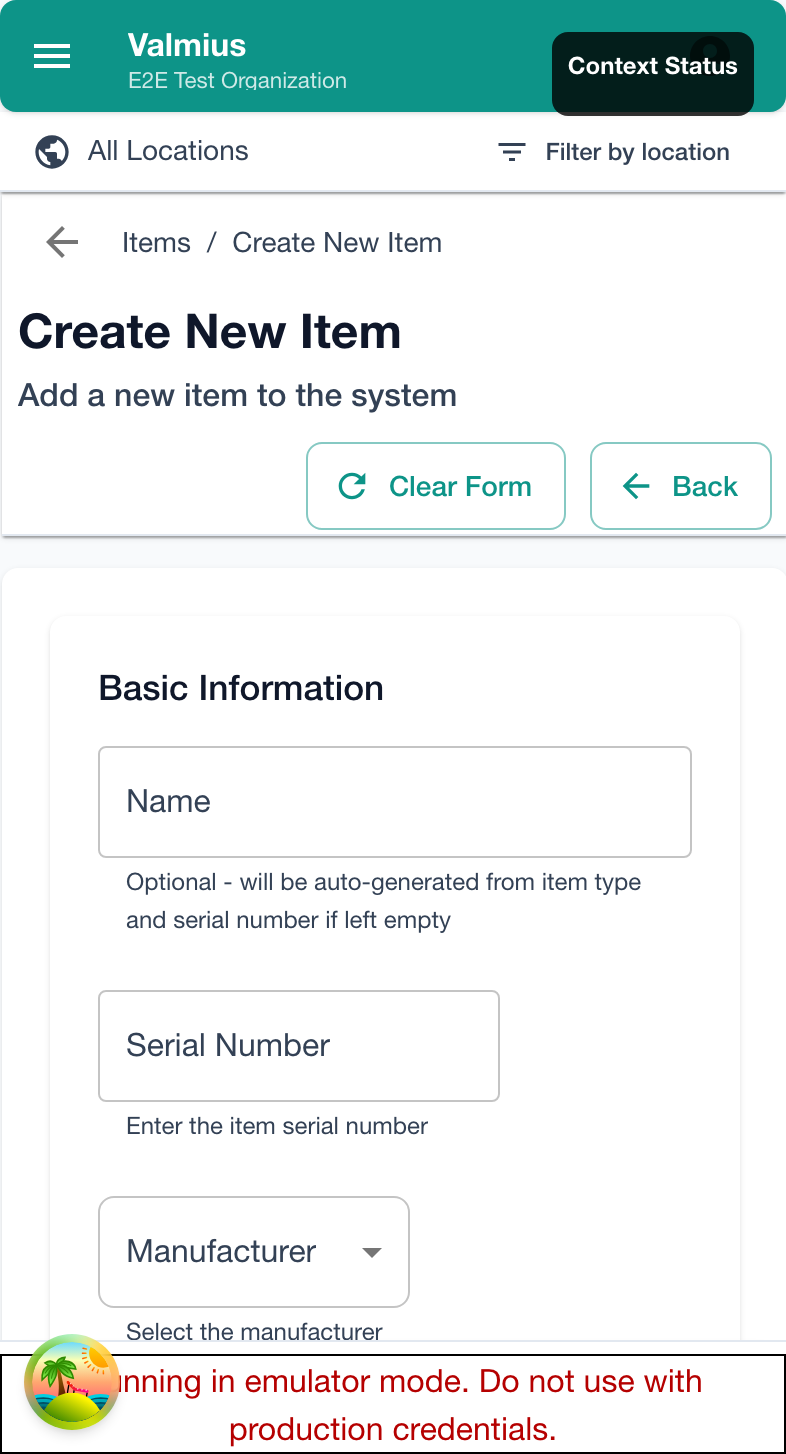
Step 2: Enter Basic Information
Fill in the required fields:
| Field | Required | Description |
|---|---|---|
| Name | Yes | Descriptive name for the equipment |
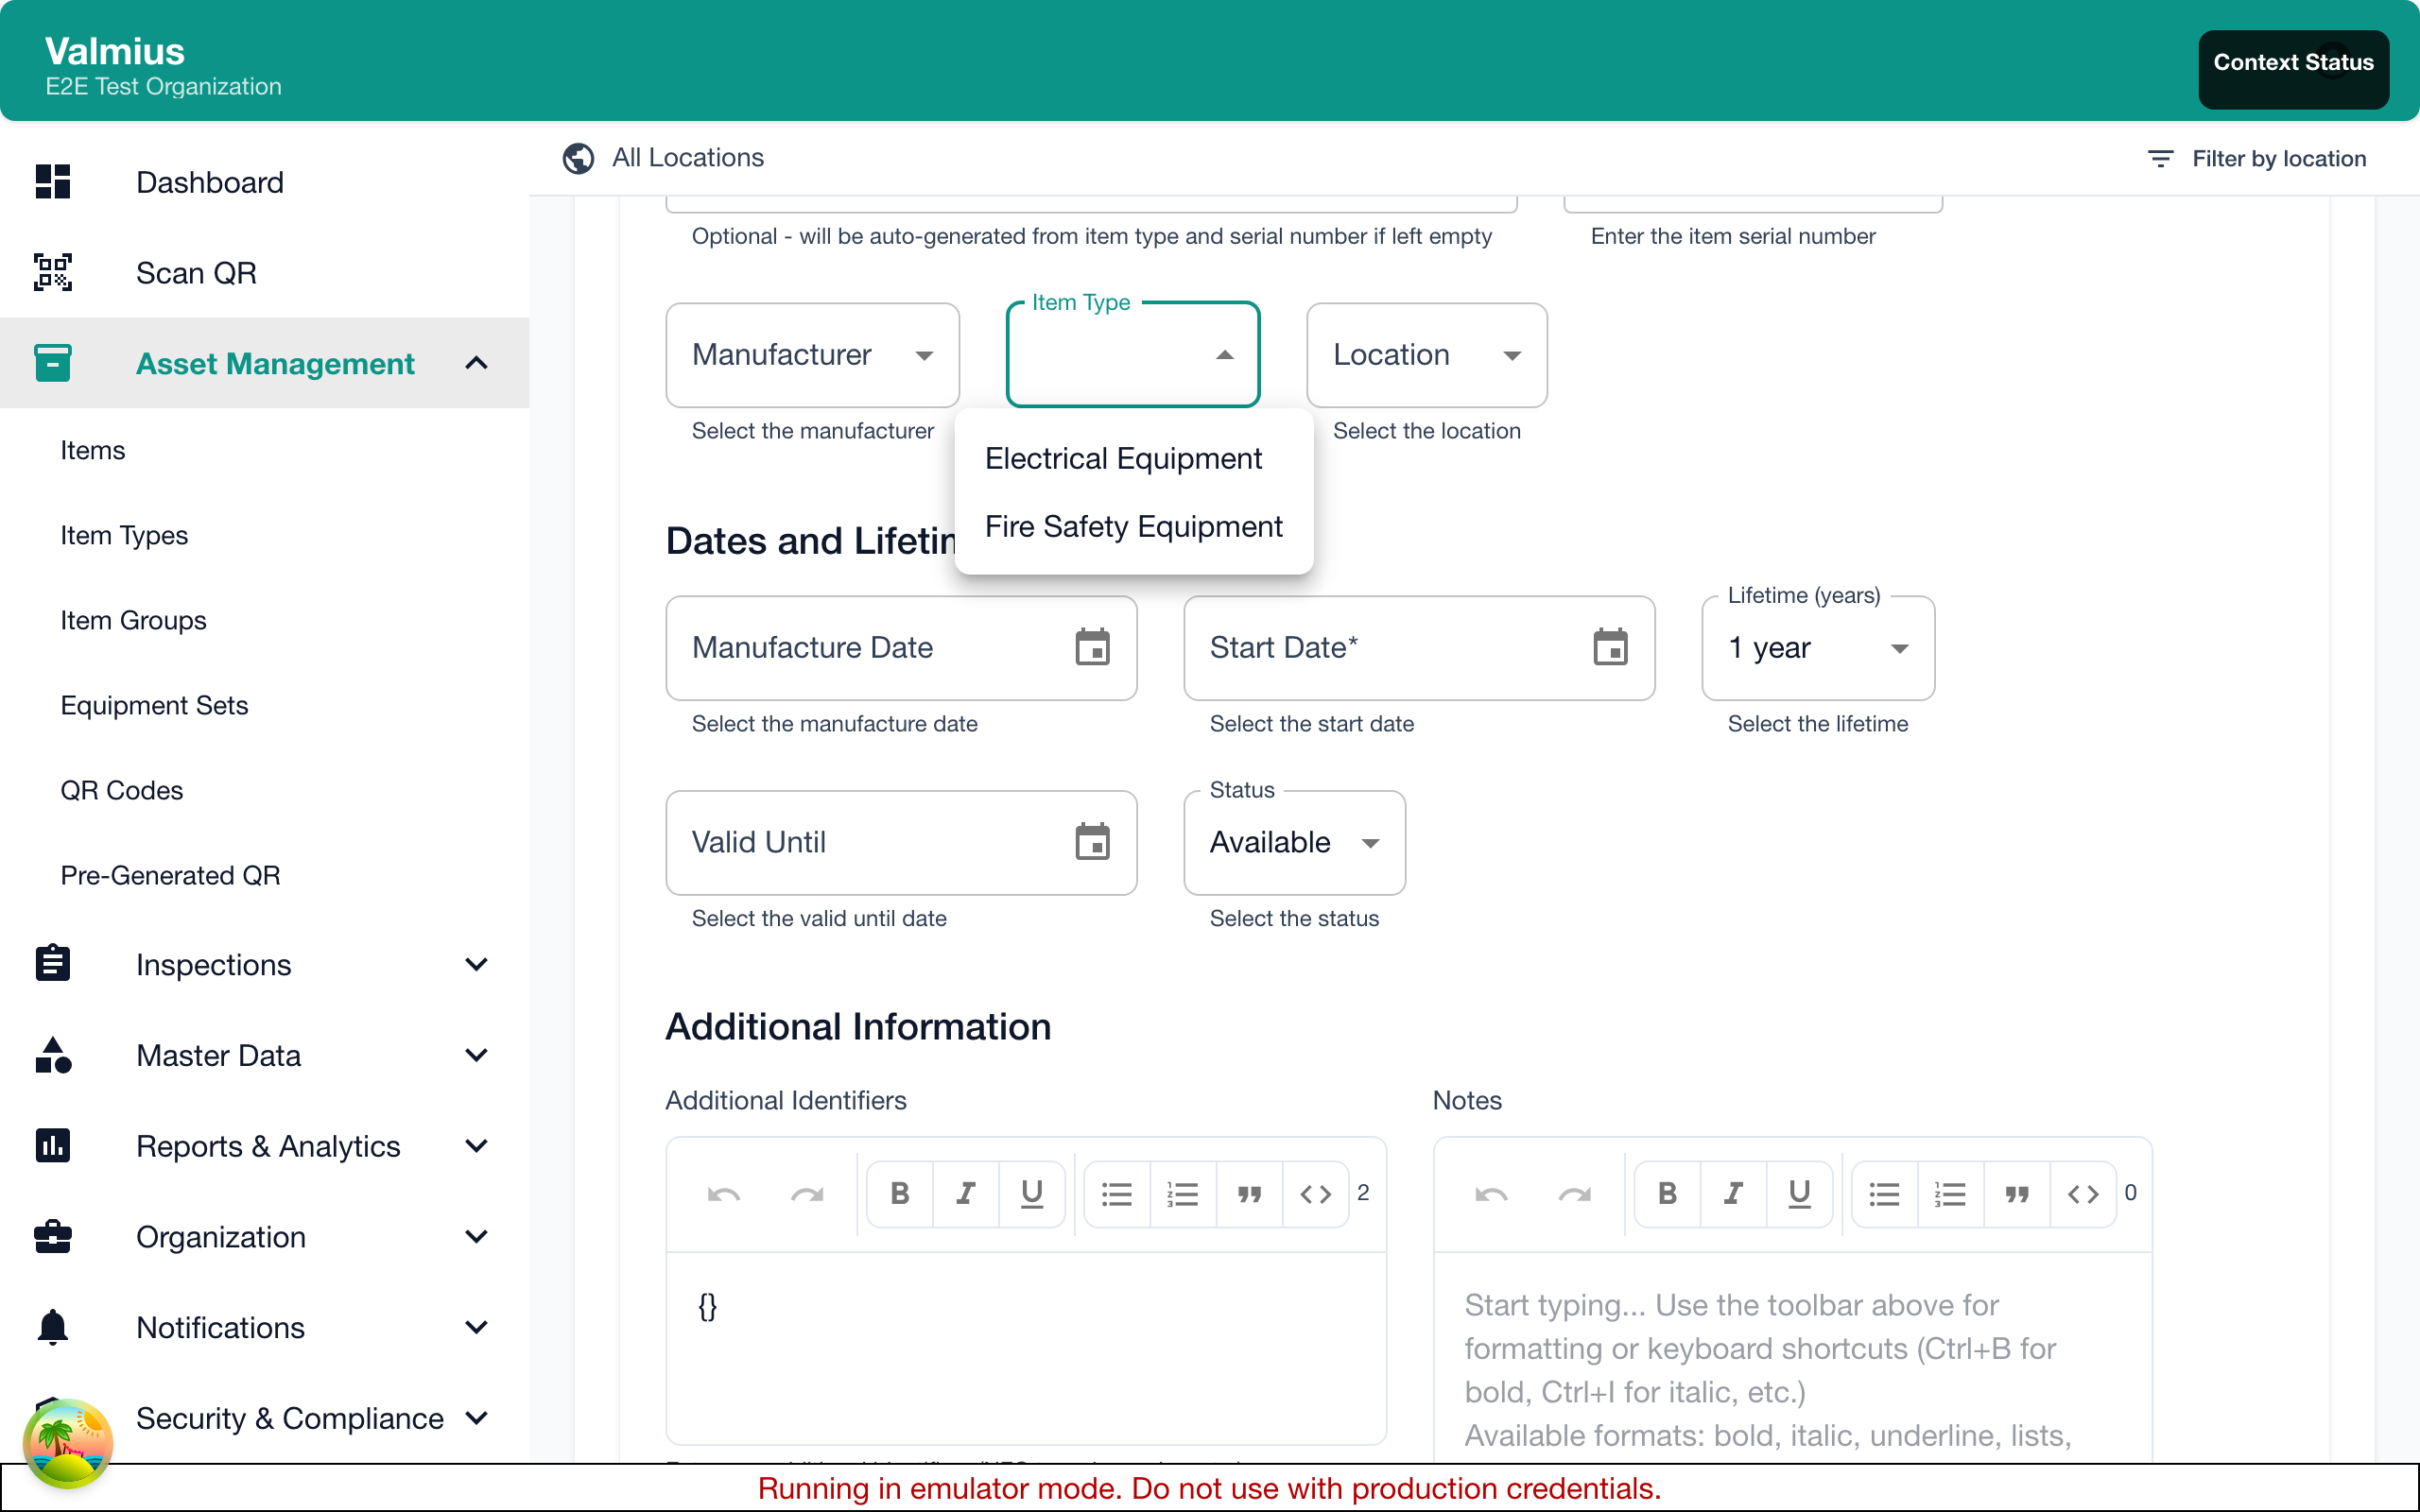
| Item Type | Yes | Select the appropriate category |
| Location | Yes | Where the item is located |
Step 3: Add Optional Details
Enhance your item record with:
| Field | Description |
|---|---|
| Serial Number | Manufacturer's serial number |
| Manufacturer | Select from configured manufacturers |
| Model | Model name or number |
| Description | Additional details about the item |
| Purchase Date | When the item was acquired |
| Notes | Internal notes (not shown in inspections) |
Step 4: Complete Custom Fields
Depending on the item type, you may see additional fields:
- Text fields - Enter short text
- Number fields - Enter numeric values
- Date fields - Select dates
- Dropdown fields - Choose from options
Custom fields are defined by your organization's item type configuration.
Step 5: Add Photos (Optional)
To add photos of the item:
- Click Add Photo or the camera icon
- Upload from your device or take a photo (on mobile)
- Add multiple photos if needed
- Set one as the primary image
- Take clear, well-lit photos
- Include serial number plates
- Document any existing damage
- Show identifying features
Step 6: Save the Item
- Review all entered information
- Click Save or Create Item
- The item appears in your items list
Quick Add Mode
For adding multiple similar items quickly:
- Enable Quick Add mode (if available)
- Fill in details
- Click Save and Add Another
- Previous values remain for faster entry
- Change only what's different
- Click Done when finished
Duplicating an Item
To create a similar item:
- Open an existing item's details
- Click Duplicate or Copy
- Edit the duplicated information
- Change the name and unique fields (serial number, etc.)
- Save the new item
This is useful for:
- Adding multiple items of the same type
- Creating items with similar configurations
- Quickly populating similar equipment
Setting Initial Status
New items default to Available status. You can change this:
| Status | When to Use |
|---|---|
| Available | Ready for normal use |
| In Use | Currently being used |
| Needs Attention | Requires inspection or maintenance |
| Under Maintenance | Being serviced |
| Retired | No longer in service |
See Item Status for more details.
Assigning to Item Groups
If your organization uses item groups:
- Create the item first
- Open the item's details
- Click Add to Group or edit the item
- Select the group(s)
- Save
Groups allow batch operations and collective scheduling.
Bulk Import
For adding many items at once, use the bulk import feature:
- Go to Data Management
- Click Import
- Download the import template
- Fill in your item data
- Upload the completed file
- Map columns to fields
- Validate and review
- Complete the import
Import Template Fields
| Column | Required | Example |
|---|---|---|
| name | Yes | "Fire Extinguisher A1" |
| itemType | Yes | "Fire Extinguisher" |
| location | Yes | "Building A / Floor 1" |
| serialNumber | No | "FE-2024-001" |
| manufacturer | No | "SafetyFirst" |
| status | No | "available" |
The import process validates your data before creating items. Review any errors and fix them in your file before re-importing.
After Creating an Item
Once created, you can:
- View the item details - See full information
- Generate a QR code - Print a label
- Perform an inspection - Start the first inspection
- Edit the item - Update information
Common Issues
Can't Find Item Type
- Item types are set up by administrators
- Ask your admin to create the needed type
- Check if you have the correct spelling
Can't Select Location
- You may be restricted to certain locations
- Contact your administrator for access
- Verify the location exists in the system
Missing Custom Fields
- Custom fields are defined per item type
- Check you selected the correct item type
- Contact your admin if fields are missing
Next Steps
- Item Details - Explore the full item view
- Item Status - Learn about status management
- QR Codes - Generate labels for your items